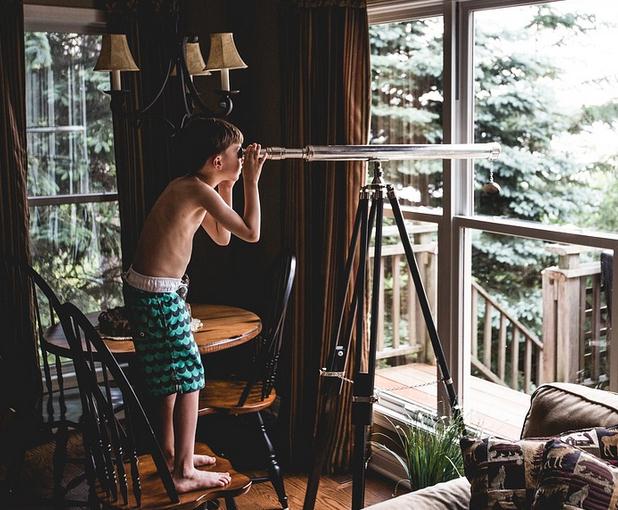
The telescope is a relatively new addition to this ancient discipline, invented around 400 years ago. As long as the user is appropriately equipped, it can be a handy piece of astronomy equipment.
Too often, people buy a telescope before they’re ready, full of great hopes and enthusiasm. However, the inexperienced observer can be very frustrated and disillusioned after a few fruitless nights under the stars.
Many homeschool families who already have or want a telescope have little trouble obtaining one; the challenge is getting it to work correctly and finding the drive to use it. Here are some helpful tips for choosing a telescope for your homeschool students to save everyone a lot of time and money.
Which Telescope Should You Buy for Your Family?
Refractors and Reflectors are the two most common types of telescopes. The labels describe how the scope responds to the light it absorbs from the thing you’re looking at.
Refractors
Refractor telescopes bend and absorb light to fixate on an image using glass lenses.
Advantages:
- It’s unlikely that you’ll need to align or clean it.
- Ensures a stable and precise image.
- Simple to operate and maintain.
Disadvantages:
- Compared to a reflector telescope, it has a narrower viewing area (a bit more challenging to look through for younger kids).
- Some objects may appear somewhat discolored.
Reflectors
Mirrors are used in reflector telescopes to gather light and concentrate an image.
Advantages:
- It’s a little less expensive than refracting telescopes of the same size.
- Increased viewing area (more comfortable to look through for young kids).
- There are no color aberrations.
Disadvantages
- It’s simple to mess up the alignment.
- It’s necessary to clean the lens regularly.
Aperture
The light-gathering mirror or lens’ diameter, commonly referred to as the objective, is the most significant feature of a telescope. You can find specifications for the telescope near the focuser, on the box, or the tube’s front.
The aperture’s diameter (D) will be measured in millimeters or, less typically, inches (one inch is equivalent to 25.4 mm). As a general guideline, your telescope must have a minimum aperture of 2.8 inches (70 mm) and preferably more.
A bigger aperture enables you to see finer detail and fainter objects than a smaller one. Even if you reside far from city lights, an excellent tiny scope may still show you many. A scope with an 80 mm (3.1 in) aperture, for example, may detect dozens of galaxies outside of our own Milky Way from a dark place.
To view those same galaxies from a suburban backyard, you’d need a 6- or 8-inch telescope. And, regardless matter how bright or black your skies are, the sight through a large aperture telescope is more spectacular than the image of the same view through a smaller scope.
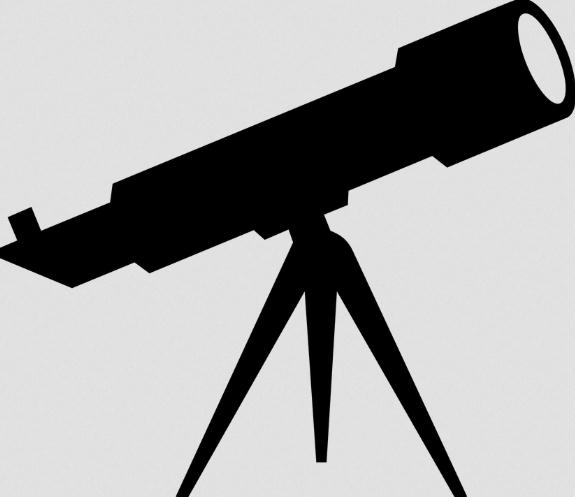
The Mount
You will require something robust to support your telescope. Many telescopes come with mounts or tripods, while some smaller scopes only have a mounting block, which enables them to be mounted to a standard camera tripod with a solitary screw.
Warning:
A tripod good enough for family photos might not be stable enough for astronomy. Single-screw attachment blocks are frequently avoided for bigger, more durable rings or plates on mounts made expressly for telescopes.
Altitude-azimuth (or just alt-az) attachments allow the scope to swing up and down, left and right, similar to how it would on a camera tripod. Many reflectors come with a Dobsonian mount, a version of the alt-az mount, and are wonderfully simple.
An equatorial mount is a more complicated system that uses a single axis to track the movement of the stars. These are typically bulkier than alt-az designs, and you’ll need to align an equatorial mount to the North Star, Polaris, to use it properly.
Some telescopes have miniature motors that allow them to move around the sky by pressing a keypad button. A small computer is integrated into the hand control of the more modern models of this sort, which are sometimes referred to as “Go-To” telescopes.
However, Go-To scopes aren’t for everyone; if you don’t know where to look for the brilliant alignment stars in the sky, the setting can be challenging. In addition, Go-To models with lower prices have smaller apertures than entry-level scopes with no electronics.
Before You Buy a Telescope, There Are a Few Things You Should Know
- Reflector telescopes are more challenging to use and maintain than refractors. Reflector telescopes, on the other hand, are easier to see through for more minor children.
- Even low-cost telescopes ($125-$350) can see Venus’ phases, Jupiter’s four moons, the moon’s craters, and Saturn’s rings.
- You shouldn’t purchase a telescope for much less than $100. It’s probably more of a toy, and using it will be a disappointment.
- Don’t buy any accessories for your telescope first off. It will arrive with all you need to get going, and you can expand on your interests from there.
- Things you see on the ground will show up upside down if you don’t have an erector lens that comes standard with most telescopes. Because there’s no orientation in space, this is irrelevant when observing astronomical objects.
- Several eyepiece lenses will be included with your telescope. An eyepiece lens must be attached to see via the telescope. Begin with the lenses that have a higher “mm” on them. Utilize the 25 mm eyepiece before the 6 mm eyepiece, for example.
- An object’s magnification is determined by the ratio of the telescope’s tube length (focal length) to the eyepiece’s focal length. As previously said, use the eyepiece with the higher number first because it’s easier to look through and magnifies less than the eyepiece with the lower number.
- Many telescopes include colored filters that you can use to cover the eyepiece. When a color is filtered out, certain aspects of an object become more visible. A light-green filter, for example, will highlight the craters on the moon, while a light-blue filter will highlight the cloud details on Jupiter.