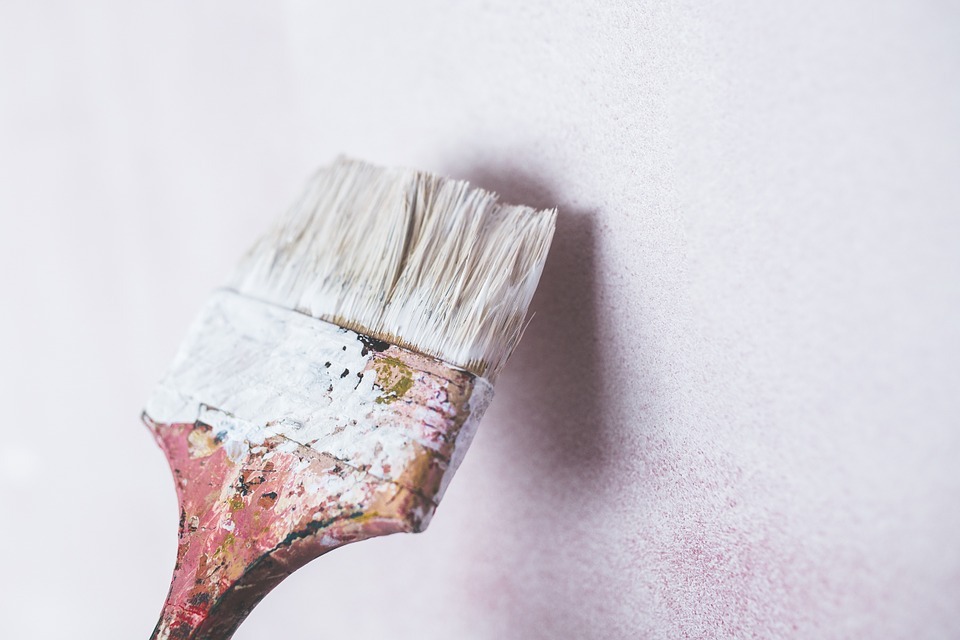
So you’re all set for a paint job, and you have your rollers and brushes ready, thinking it’s going to be a simple, swift task. But what you don’t know is that painting your kitchen or bathroom cabinets will require a lot of patience and a big mess in your home. If you are ready and prepared for the aftermath of a paint job and want to give those old cabinets in your bathroom or kitchen a fresh new coat of paint to bring them back to life, you came to the right place. We’ve got you covered.
Keep reading as we give you seven simple methods of preparing for a paint job and doing it the right way without causing any permanent damage to your cabinets.
1. Remove and Put Away All of the Hardware
Before setting out on that paint job, remove all of the cabinets’ hardware and put it away in a safe place. Reassemble and reinstall them in the cabinets again after the paint is dry. So make sure you label all the hinges and screws to remember which doors or drawers they were attached to; this will help you work with a clean slate when you start on that cabinet paint job.
2. Use the Right Type of Paint
You can’t just go for regular wall paint when you are painting your cabinets; this type of paint will chip after a short period and will not tolerate frequent cleaning. For painting your cabinets, you need an alkyd enamel that will maintain a strong surface for your cabinets, feel smoother when touched, and stay fresh for a long time. An alkyd enamel’s formula has self-leveling properties that make it the perfect type of paint for your cabinetry.
3. Be Prepared for the Cost, Time Needed, and Required Materials
Painting any surface inside your home is not going to be a quick or simple task. Waiting for the paint to dry will take time, so will cleaning up the mess and assembling the needed tools and materials. Also, be prepared for the costs of painting bigger surfaces and buying the required equipment for achieving professional results. Using smart tools will help you with estimating the budget. Most people would use a calculating tool from DIYPaintingTips that can help you determine your painting project’s expenses, the material, and the time needed to finish the project. It’s important to be prepared with the right material and to know how much time you will spend on the project to master it.
4. Declutter the Area
Painting your cabinets will make a huge mess, whether it’s in the kitchen or the bathroom. You must remove all the cabinet’s contents and place them in specially labeled bags or boxes away from the painting area. Consider rolling up any nearby rugs, removing the curtains close to the cabinets, and clearing the countertops above or underneath the painted cabinets. Remove your small kitchen or bathroom appliances and the cookware from the kitchen to avoid accidentally staining an expensive china set or breaking mugs while painting your cabinets’ doors and drawers.
5. Get a Lot of Sandpaper
While painting your cabinets, there’s going to be a lot of sanding the frames between every coat of paint you apply. So, be ready, and stock up on sandpaper that will help you fill those holes in your cabinet’s surface while painting and priming. Get as many as 25 to 30 sheets of sandpaper of 120 to 180 grit to hand sand between coats.
6. Don’t Apply Heavy Coats of Paint
The worst thing you can do to your cabinet’s surface or any surface while painting is applying heavy coats. Doing this will make the paint drip, and since enamel paint cures faster than other paint, you’ll end up with drip marks that will need to be sanded and repainted. Go light on your coats and give them time to dry before applying extra coats to avoid drip marks and the squishing of paint when you use too much paint on your low-nap roller.
7. Prepare a Couple of Extra Rollers and Brushes
Oil-based paint is not easy to clean and certainly won’t go away using water and soap on the brush. Buy a few extra ones to avoid the hassle of having to clean your brushes and rollers every time you need to re-use them. It is best to use a new one when the paint has dried on the bristles of your brush.
A paint job is definitely not an easy job. There are just so many things you need to do before painting those doors or drawers in aesthetic colors and adding some refreshing touches to your home’s interior. By following these methods, you will ensure that you are ready before starting a painting project. Using smart tools to help you prepare for an indoor painting project lets you know how much money you need for the project, how much time you need, and what materials to use.
