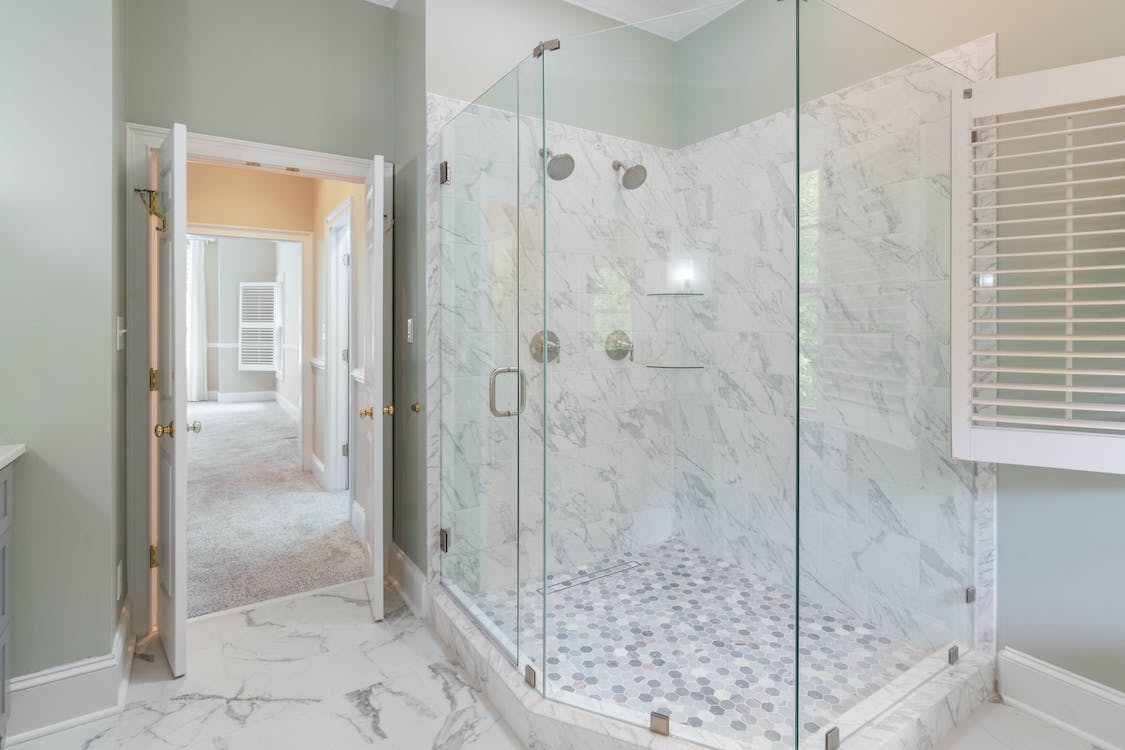
11 Tips for Remodeling Your Home’s Interior
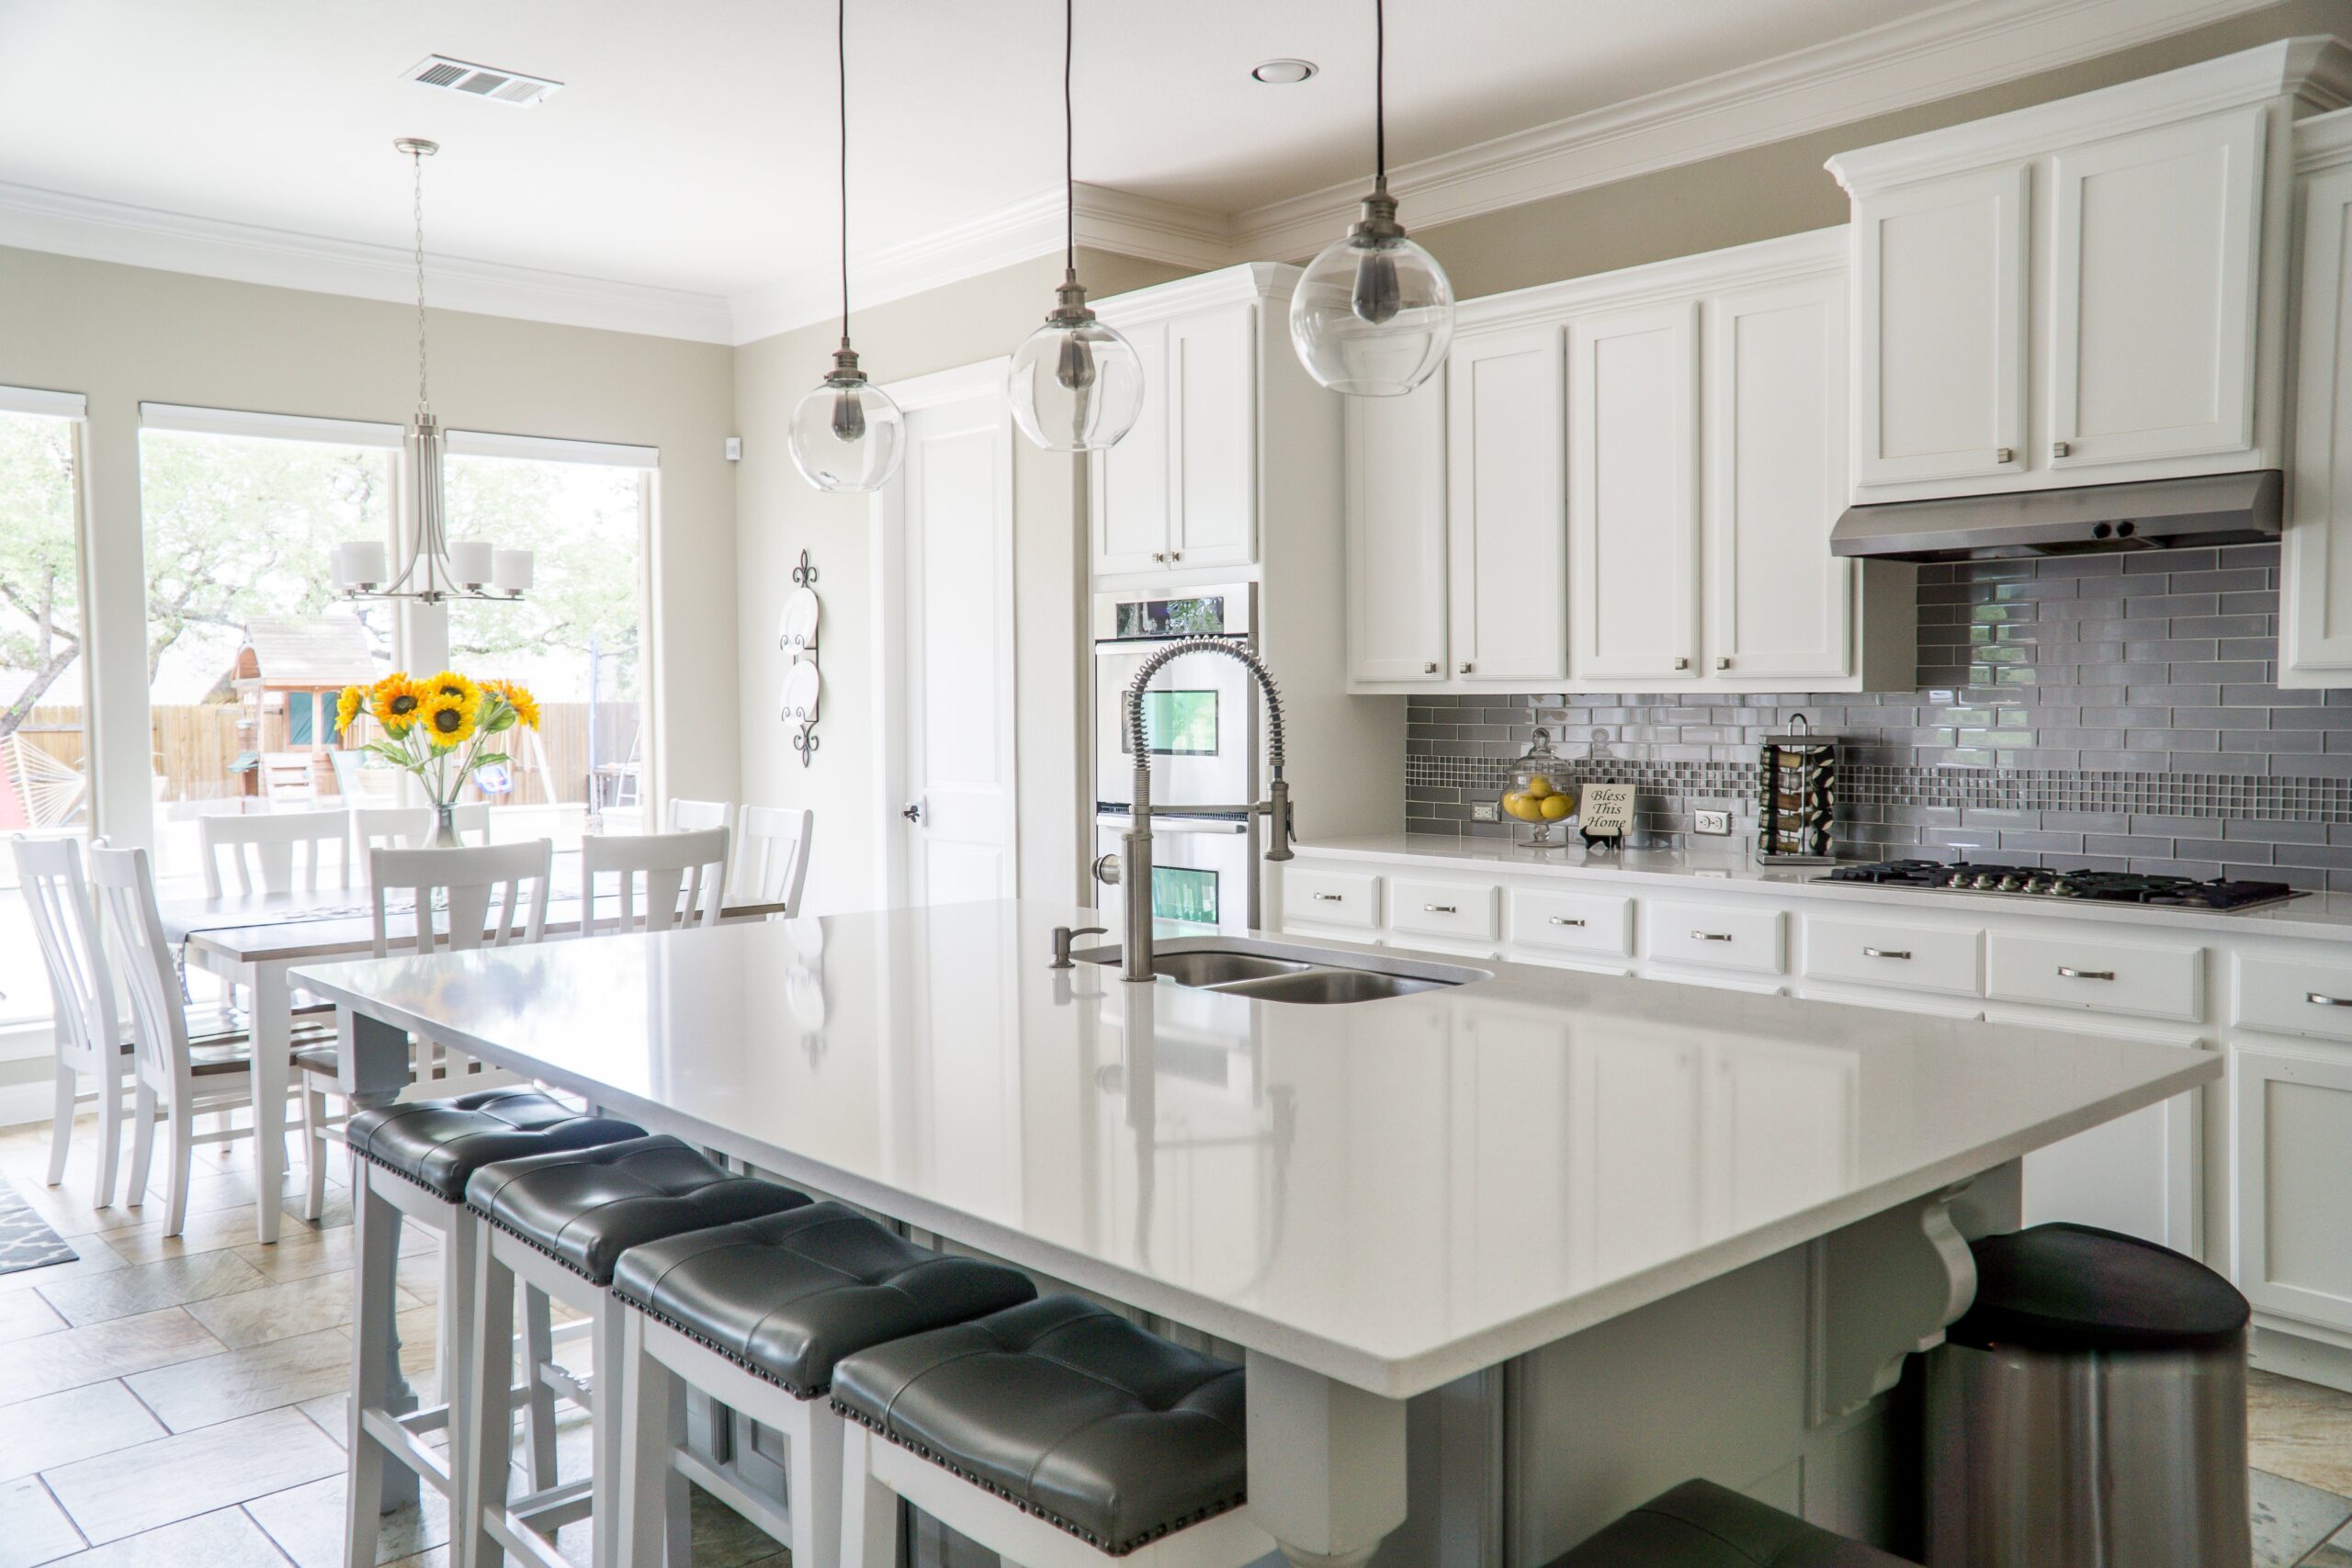
Remodeling your home’s interior can be a thrilling and rewarding experience. It’s a chance to infuse new life into your living space, tailor it to your evolving needs, and express your personal style. In Rockwood, Pennsylvania, a charming town known for its scenic landscapes and outdoor activities, many homeowners take pride in … Read more