

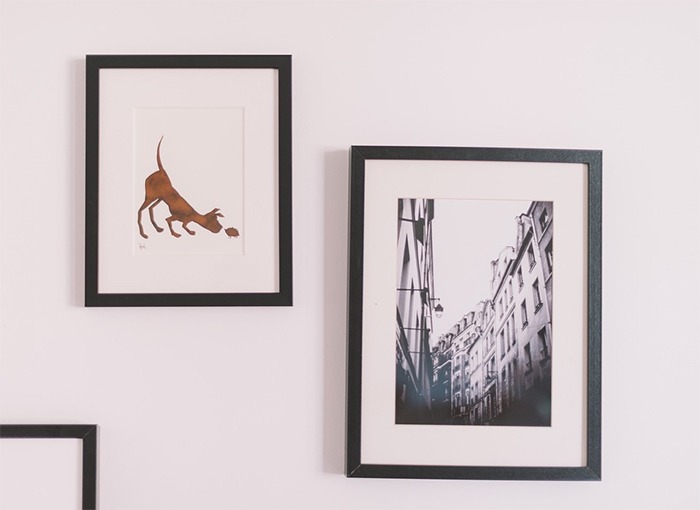
The process of hanging famous paintings or family photos on the wall may seem easy, but it can also be a tedious and frustrating process, especially if it ends up crooked.
Hanging a picture properly is much more than a haphazard task so before driving hefty nails into your wall to hang a single painting or a whole gallery wall, plan and precisely identify your hanging positions.
When it comes to decorating, it helps if you understand the fundamental concepts first, then improvise. Sometimes the most visually appealing arrangement is the one you least expect.
Fortunately, by scouring the internet for a few pointers that can help you hang your artwork correctly, below is a list collated so you can wing it the first time.
Don’t Eyeball It
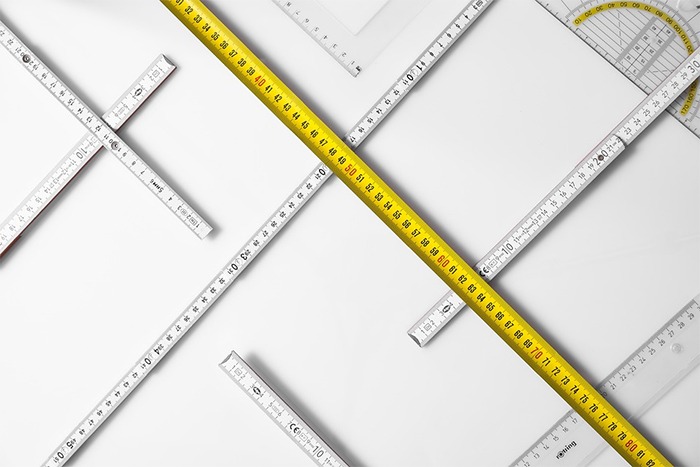
When hanging photos, use a tape measure to be sure your measurements are correct. You can use a hammer, a screwdriver, and a carpenter’s level, preferably 24 inches long, for putting up most pictures.
Position the object’s center 57 to 60 inches off the floor when it is hung at average eye level. Make use of the following formula:
- Divide the frame’s height by two
- Deduct the distance between the wall-hanging hardware and the top of the frame
- from that number.
- Add this to 57, 58, 59, or 60
- This final figure is the height (as measured from the floor) at which the hangers should be installed in the wall.
If you’re hanging a grid or a series of pieces instinctively rather than at eye level, you still have to be exact with your measurements to achieve even spacing.

Lickety-Split Wall Decor
Here’s a quick and easy tip to hang pictures. Grab the picture’s back hanger with the wet finger you get by licking your middle knuckle. When you’ve got the picture exactly where you want it, press your knuckle against the wall. A small amount of saliva will leave a faint mark on the wall, making it easier for you to locate where to put that nail. However, if you want to hang something heavy on the wall, make sure you use wall anchors.
Use Tape and Templates
You can use this strategy to decide how to place frames of various sizes adjacent to each other. Use a low-adhesive tape and a craft paper large enough to trace your frames on to perform this trick.
- Place your frames face down on the craft paper that you just laid out.
- Trace your frame’s edges (carefully, so that your frames don’t get marked!).
- Make a note on your templates where your nails will need to go when you trace your frames.
- Make copies of the templates and stick them to the wall where you envision them. You can fiddle with the arrangement as much as you like until you are pleased with it.
- Hang your frames after you’ve inserted nails where they’ve been designated. (Note: Keep track of your markings by hanging one photo at a time before taking down all of your templates from the wall.)
Utilize a Smartphone Level
For the benefit of those who are just getting started with smartphones, you may use your phone as a mini-level or plumb bob when doing home improvement projects. You can use a leveling app that you can get from the app store, or your phone may already have one included in the operating system.
You shouldn’t use a phone level to build an extension, but you can use it for small leveling activities around the house. Maximize your phone capabilities for your ease while working on those small-scale home projects.
Pinpoint!
When hanging a new painting, it’s a good idea to outline the wall where the nail holes will be. You can use cyanoacrylate glue (like Super Glue) to join two push pins together at the top. Place the pin in the center of the picture along the upper back edge of the frame. All that’s left is for you to hold the image up, move it to the ideal location, and press in to make a mark for the nail. If you’re hanging wire-hung photos, measure the distance from the top of the wire to the pushpin hole and move the nail down that distance.
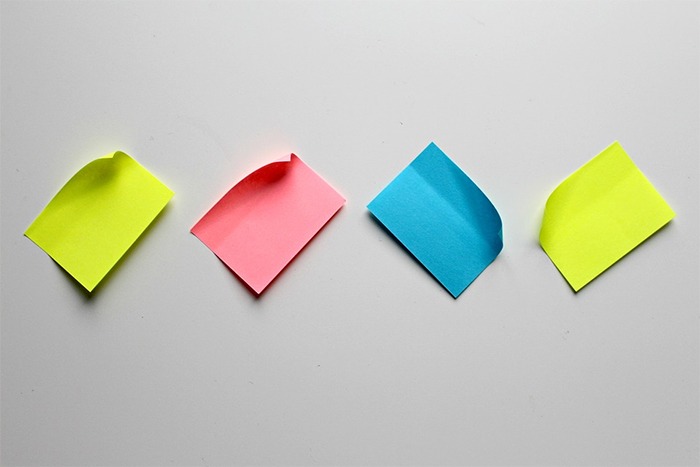
Use a sticky note to catch dust
Since hanging artwork or pictures is typically done in a finished space, it can leave drywall, plaster, or concrete dust on your carpet, flooring, or furniture. So here’s a little advice: Use a simple, folded Post-It under your designated hole to catch the majority of the dust created by your pilot hole. Just another life hack to live by!
Final Notes
The way photos are arranged on a wall is just as important as the pictures themselves. Grids are suitable for creating an organized graphic design. On the other hand, photos in a predefined square or rectangle are more casual and ideal for use in the family room or kitchen.
Rows of images can be aligned in various ways, at their centers, bottoms, and tops, all with varying results. Even if you’re working with a single image, it’s best to place the artwork so that it’s centered horizontally between two points to create a balance that echoes throughout the room.
Consider these tips before punching a hole on your wall for those picture frames and artworks you so badly want to show to your family and friends.