

Is there any kid who doesn’t love dinosaurs? It’s hard for them not to given the rise of major films like Jurassic Park and dissemination of information that’s come along with the internet.
Kids get really excited about dinosaurs for many reasons. First of all, they were around millions of years in the past. Second, they were in a bunch of different sizes, and finally, some of them have downright awesome names.
The T-rex, or Tyrannosaurus Rx, is probably the most popular, although the Stegosaurs and Brontosaurus are also pretty well-known too. In truth, there were hundreds more than these, and scientists keep discovering evidence of even more. If you want to do a dinosaur activity with your kid, then including fossil study could be a part of that.
What is a Paleontologist?
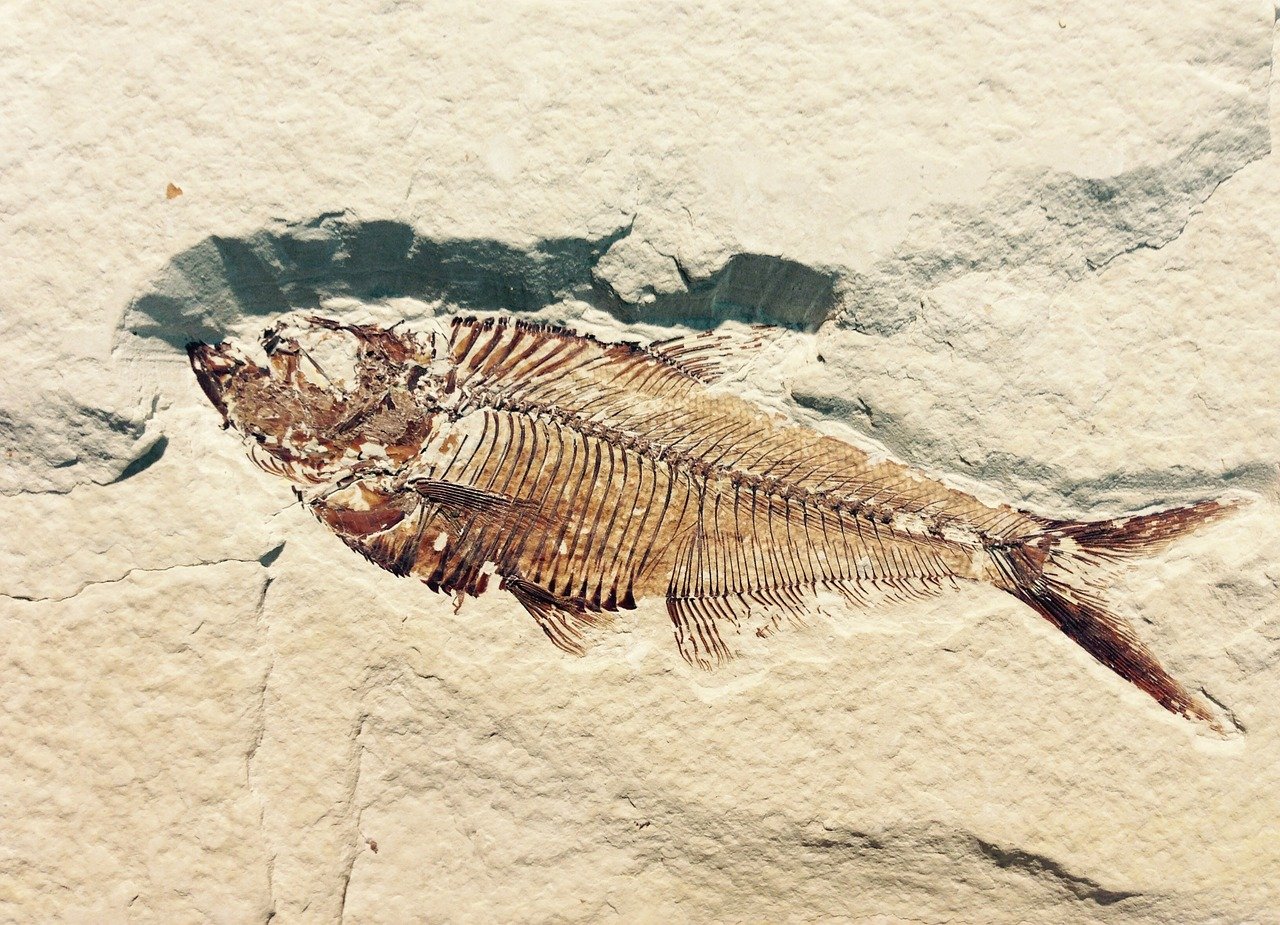
Fossils are how scientists learn most things about dinosaurs. First, they find fossils, and then they study them. We call these scientists Paleontologists. Dinosaur fossils started finding dinosaur fossils back in the 1700s.
These fossils are in the forms of egg, bone, and footprint impressions made in rock. Fossils are physical remains or records of living things from the past. Fossil prints get preserved anytime the soft mud they were originally made in turns into stone.
Fun Fossil Activities at Home
One kid dinosaur activity you can do involves making a fossil of your own and classifying it. Do this by making a mold using plaster of Paris, along with an assortment of shells, sticks, and leaves. Mix water and plaster of Paris in disposable dishpans or buckets. If you don’t want the mess, Fossilicious specializes in educational fossil sets you can use for the classification part.
If you want to help your kid make your very own fossil, then you need the following items:
- 4 cups plaster of Paris
- 5 cups of water
- Petroleum jelly
- An assortment of sticks, leaves, and shells
Mix 1.25 cups of water and 2 cups of plaster of Paris in your chosen container. Spread out the plaster across the bottom of your pan until it’s around an inch in thickness. Wait for around 2 minutes so the plaster has enough time to set.
Coat your sticks, leaves, or shells, with the petroleum jelly, and then press them into the plaster of Paris just enough so they dent the surface. Let them sit a few moments before removing them. Then, let it set until it’s totally hard. This is now your mold.
Coat every mold or indent with petroleum jelly. Now, you can mix up your next batch of plaster for pouring into your molds. Let this plaster harden, and then separate your ‘fossil’ gently from its mold. If you can’t get them to separate with ease, then hold your pan upright before tapping it gently using a small hammer.
Kids should find dinosaur activities like this quite fascinating. If you’d like, do foot or hand prints following the very same procedure. Just make sure that your kid’s foot or hand is coated thick with the petroleum jelly. Now your kid can know what it’s like to be a paleontologist!
More Activities to Enjoy with kids!
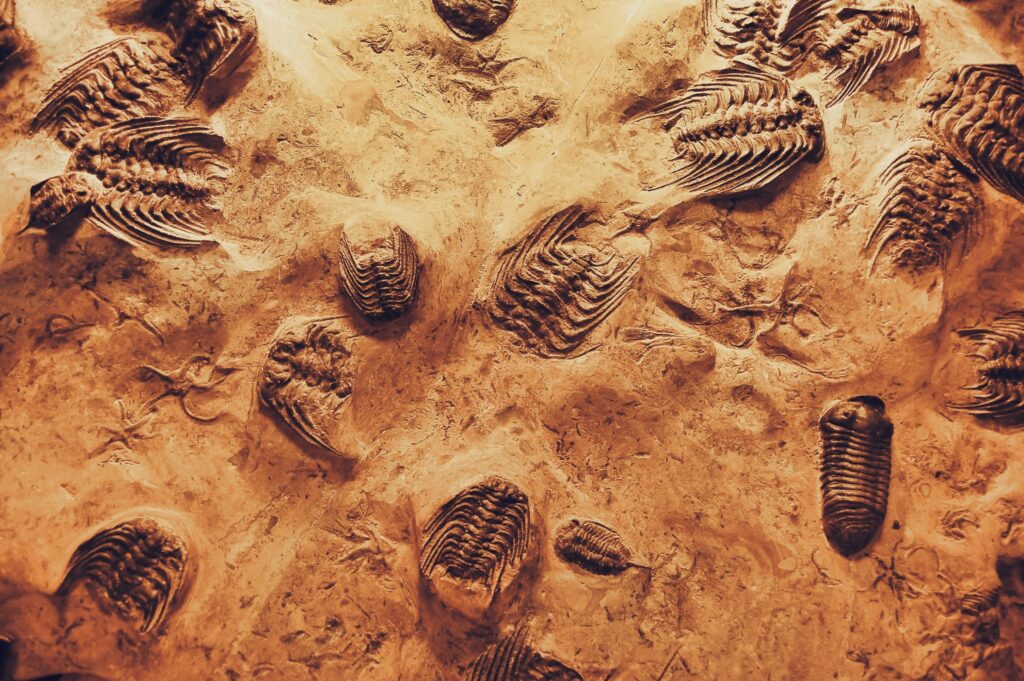
The preserved remains, imprints, or impressions of a once-living organism, such as an animal or a plant, are called fossils. Did you know that the term “fossil,” which means “obtained by digging,” is the origin of the English word “fossils”?
Some fossils can be found on every continent. The biggest fossil ever discovered was the remnants of a petrified tree that was unearthed in Thailand and was over 237 feet/72 meters tall. The oldest fossil discovered to date is 3.2 billion-year-old blue-green algae from South Africa.

Make Fossil Impressions
You may easily create your fossil impressions. All you need to press items into and create fossilized impressions is a soft surface material, such as clay, playdough, or salt dough.
You might do experiments utilizing organic materials such as bark, leaves, flowers, or seashells. Alternately, create animal fossil imprints with dinosaurs or animal toys. You may leave the impressions outside to dry and firm like actual fossilized prints if you are using clay or salt dough. Consider painting them once they are dry to further emphasize the impression.
Go on a fossil-hunting or dinosaur-digging expedition
Consider going on a dinosaur excavation or fossil-hunting trip and finding your very own fossils while acting like a paleontologist. To locate fossils, you only need a sand or dirt tray. To locate or utilize toy dinosaurs or bones, you may create your clay, salt dough, or plaster of Paris fossils. Simply bury the fossils in sand or dirt, and then use brushes, spades, or other digging implements to expose them.
Make Dinosaur Skeleton Prints
Although they need a little more finesse in cutting than the potato stamps, we often use, the result is amazing. The first step is to chop one potato half into the shape of a dinosaur head. We scooped out the eye and nasal cavities with a spoon. The body is then formed by cutting a crude backbone shape linked to ribs from the other half of the potato. The last step is to cut a carrot in half, first cutting one half into a rough tail form and the other half into two leg bone shapes. The kids may then have a lot of fun dipping the potatoes in paint to create full or sporadic dinosaur skeleton prints.
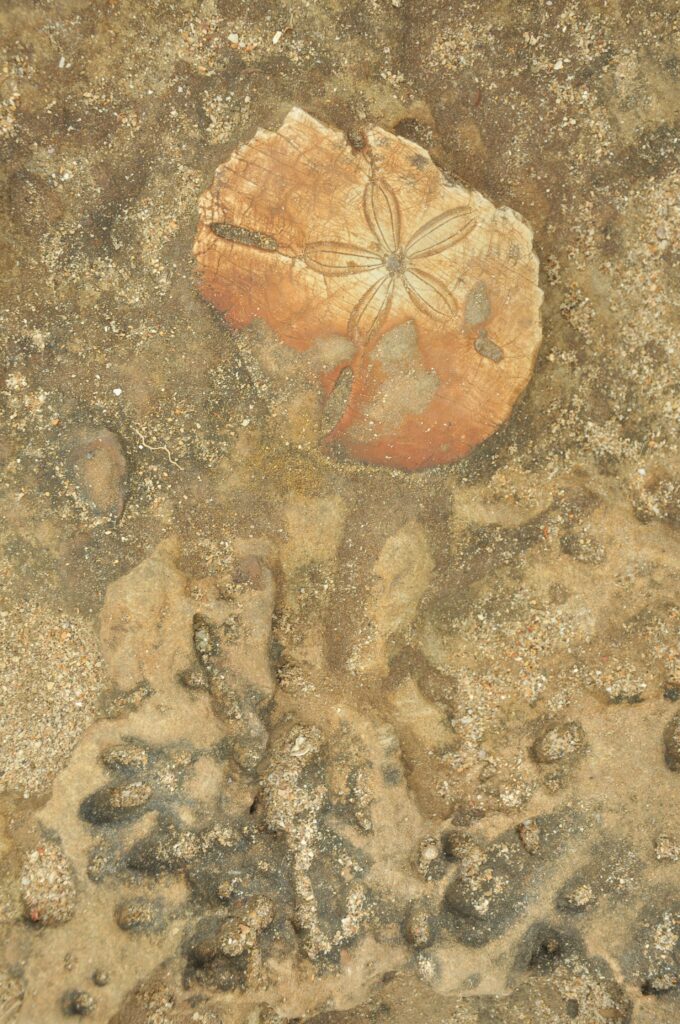
Create an Ichnite Fossil
Ichnites, or trace fossils, are fossilized animal or human footsteps or traces. Using just clay or plaster of Paris, animal prints, and plaster of Paris, you may simply build your ichnite fossils. Animals travel to muddy locations near water, such as rivers, lakes, ponds, and streams, where they may drink and move in soft mud, to leave their prints and traces. You may use this helpful visual reference provided by Wildlife to assist identify any animal prints you may come across.
Any animal prints you come across can readily be preserved as a fossil. Plaster of Paris, water, a cup or mixing dish, and a spoon are all you need. Pour the plaster mixture over the animal pattern after mixing it with water in a cup or container. Making a simple cardboard collar or hoop to cover the print and hold the plaster is another option, although it is not necessary. The plaster must then dry patiently for 30 to 60 minutes before the cast of the print can be gently removed. Then, you may stamp impressions and prints into clay, salt dough, or playdough using the plaster casts of your paw prints. After your prints have dried, you can paint and embellish them, make pendants out of them, or use them as decorations.
Make a Trace Fossil Impression
Making a surface impression of an object is another approach to creating a trace fossil. Just lay a piece of paper over the surface of an attractive object, such as a dinosaur toy, some leaves, or some bark. Then, carefully rub over the paper’s surface with the side of a crayon or piece of chalk to capture the textures and patterns of the item.
Make a resin fossil
Some fossils are also created when tiny insects or plant materials become stuck in tree resin, which over time hardens and forms amber. A resin kit and some compressed flowers or leaves may be used to make your resin fossils. Simply prepare the resin mixture in accordance with the directions on the kit, and then pour it into the mold with some compressed flowers or leaves.
Make Dinosaur fossil cookies
Similar to the fossil impression exercise, except that this time you get to eat the fossils you make. What you will need to prepare the biscuit dough is:
- Butter, 115g (1/2 cup).
- 50g (1/4 cup) caster sugar
- 1 egg
- 200g (1 1/2 cups) plain flour
- Cocoa powder, 1 tbsp (to give the biscuits a rock color)
To begin, heat your oven to 180°C. (350oF).
In a bowl, combine the butter and sugar to make a cream. Then combine the flour and cocoa powder with one softly beaten egg, stirring until a soft dough forms. The dough should be rolled into a ball and placed back into the basin. Put the bowl in the refrigerator for 30 minutes with the lid on (to prevent the dough from drying out). By doing this, you may help the dough set up and keep the butter from melting as you handle it.
To make your fossil impressions, roll out the dough on a floured surface, and then have fun pushing clean, recently cleaned toys into the clay. Toy dinosaurs and insects were combined in our use, but any animal toy can do that. Following the completion of your impressions gently cut a circle around each one with a butter knife or cookie cutter and set the pieces on a baking sheet. Bake for 15 to 20 minutes, or until golden brown. The biscuits we had disappeared quite quickly. The biscuits keep nicely for a week in an airtight container, or you can freeze them to enjoy at a later time if you wish to save them.
Ice fossils
In permafrost ice, fossilized remnants of animals and plants are frequently found to be well preserved. Making your ice fossils is as simple as freezing plastic dinosaurs or insects in water in old, recyclable containers. Additionally, you might incorporate additional sensory components by utilizing scented herbs, flavored oils, coloring, and naturally textured materials. You may set the kids loose with hammers and other tools to release the dinosaur or bug toys if you are feeling a little more daring. Safety advice: Watch youngsters carefully while they are using tools and take safety measures to ensure they do not damage themselves or destroy any toys. I strongly advise performing this activity outside on soft ground.
Dinosaur Ice Eggs
A balloon may also be used to create ice eggs for dinosaurs. Carefully insert a dinosaur toy inside a balloon’s neck. Then, while filling the balloons with water, stretch the balloon neck over a tap and hold it securely in place.
Overnight, freeze the balloons with water inside. You may cut and pull the balloon away once the water within the balloon has completely frozen to reveal your dinosaur ice egg.
You now possess an ice dinosaur egg, which you may enjoy hatching or using to free the dinosaur that is within. Either place the egg in a basin of warm water or pour warm water over the top until the ice melts sufficiently to liberate it.

Make sand art fossil or skeleton image
Sand and either a lightbox or an unadorned tray are all you need for this exercise. Pour some sand over the tray or lightbox, then draw some fossil or skeleton forms in the sand. As an alternative, you might draw a skeleton or fossil using a glue stick on some paper, then pour sand over the glue to make a long-lasting sand art artwork.