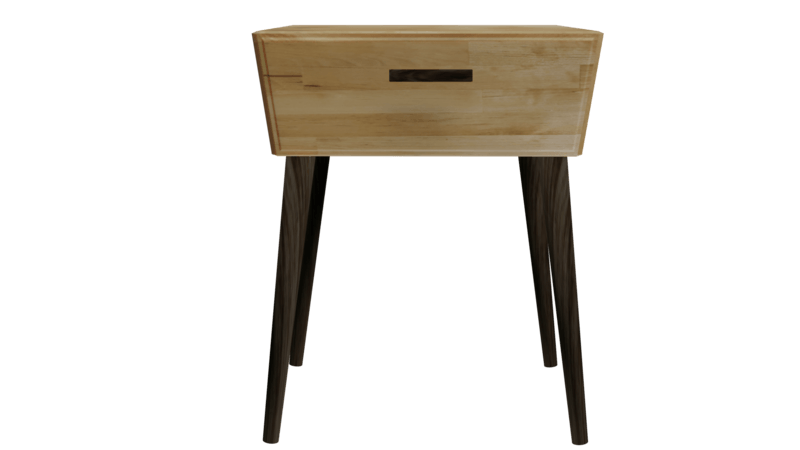
Wooden fixtures is a popular preference for plenty house owners because of its durability and timeless beauty. However, through the years, the legs of wood furnishings can turn out to be worn or broken, detracting from the general appearance and stability of the piece.
Fortunately, replacing wooden legs on furniture is a relatively simple process that can be done at home with just a few tools and materials. You can also visit highlandmanorwoodproducts.com/wood-furniture-feet to find the best suit wooden legs online.
In this article, you can fnd a guide to replace the wooden furniture legs:
1. Assess the Damage
Before you begin changing the wood legs to your fixtures, it’s critical to assess the harm and decide the quantity of the substitute wanted. Examine each leg cautiously for signs of damage, cracks, or other harm. If the legs are virtually unfastened or wobbly, you’ll be capable of restore them as opposed to changing them completely. However, if the damage is extreme or the legs are past restore, replacement is the first-rate choice.
2. Measure and Source Replacement Legs
Once you’ve got determined that the wood legs want to get replaced, the next step is to measure the duration and width of the existing legs. This will make sure that you source replacement legs which are the right size and will healthy the furniture nicely. You can discover a variety of wood legs for fixtures at nearby home development stores, online stores, or strong point furnishings shops. Make sure to choose legs that match the fashion and layout of your fixtures to maintain its typical aesthetic.
3. Remove the Old Legs
To get rid of the old legs, you may need to turn the fixtures the other way up or lay it on its aspect to gain get right of entry to to the leg attachment factors. Use a screwdriver or drill to cast off any screws or bolts preserving the legs in region. Be careful not to strip the screws or damage the fixtures at some point of this system. Once the attachment hardware is eliminated, lightly pull or twist the old legs to detach them from the furnishings. If the legs are glued on, you can want to apply a chisel or other equipment to cautiously pry them off.
4. Prepare the Furniture for New Legs
After casting off the antique legs, you’ll need to put together the furnishings for the installation of the new legs. Check the attachment points to ensure they may be easy and unfastened from any vintage glue or debris. If vital, use sandpaper or a chisel to smooth out the attachment points and create a easy floor for the new legs. This step is crucial for ensuring a secure and stable attachment of the replacement legs.
5. Attach the New Legs
Once the furniture is ready, it is time to attach the new legs. Apply a small amount of wooden glue to the attachment points on the furniture, spreading it evenly with a broom or your fingers. Then, align the substitute legs with the attachment points and firmly press them into place. If important, use clamps or weights to preserve the legs in region while the glue dries. Follow the manufacturer’s instructions for the specific type of wood glue you are using to ensure proper drying time and bond strength.
6. Test and Adjust
After the glue has dried, it’s important to test the stability and balance of the furniture with the new legs. Place the furniture on a level surface and gently rock or apply pressure to ensure that the legs are securely attached and the furniture does not wobble. If necessary, make adjustments by adding additional glue or using shims to level the furniture. It’s important to ensure that the furniture is stable and balanced to prevent accidents or damage.
7. Finish and Protect
Once the new legs are securely attached and the furnishings is strong, you can finish and defend the wood legs. Depending at the kind of wooden and favored finish, you may follow a stain, paint, or varnish to the legs to suit the relaxation of the furniture or create a contrasting appearance.
Make positive to follow the manufacturer’s instructions for the precise finish you pick and allow adequate drying time among coats. Applying a protective end will now not handiest beautify the advent of the legs however additionally offer brought durability and toughness.
Conclusion
Replacing wooden legs on furniture is a simple yet effective way to breathe new life into your favorite pieces. By following the steps outlined in this article, you can easily replace the legs of your wooden furniture and restore its functionality and beauty.
Remember to assess the damage, measure and source replacement legs, remove the old legs, prepare the furniture, attach the new legs, test and adjust, and finish and protect the wooden legs. With a little time and effort, you can enjoy your refreshed furniture for years to come.