There are many things that we can do to allow our kids to have fun learning and exploring even in the comforts of our home. Now, more than ever, we, as parents, have to make sure that our kids still get to enjoy and have fun despite not being able to go outside and play. In the absence of socialization due to the pandemic, we can use the internet to look for meaningful crafts and activities that we can do together with the kids to keep our mental health in check. One example of such homemade crafts is play dough.
Play doughs are clay-like stuff that is necessarily non-toxic and safe. Children commonly use the substance to model things ranging from tiny airplanes, cars, balls to insects, animals, and miniature people. We had played with this ourselves when we were young! Play doughs can be an excellent tool for learning, recreation, and fun time for the kids. They are also so easy to make – with just a handful of ingredients, we can make our very own playdough.
So, where do we begin? Read on below to learn how to prepare playdough at home with minimum ingredients.
WHAT TO PREPARE
We only need three main ingredients that we assume are always available at home for our playdough recipe. However, the last two components entirely depend on you, but we encourage you to be creative and resourceful in crafting your homemade playdough for extra fun and thrill. These are the ingredients:
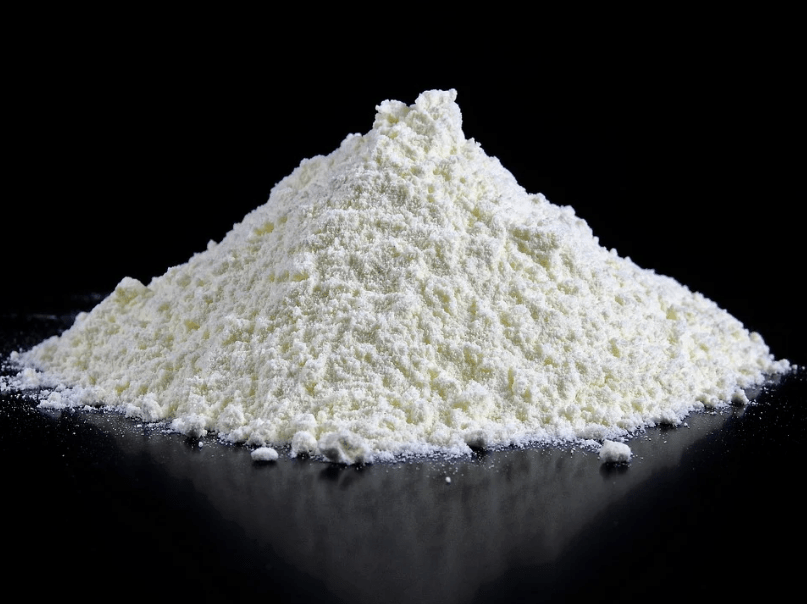
1 cup of flour
½ cup of salt
½ cup water
food coloring/non-toxic, washable paint (optional, but highly encouraged!)
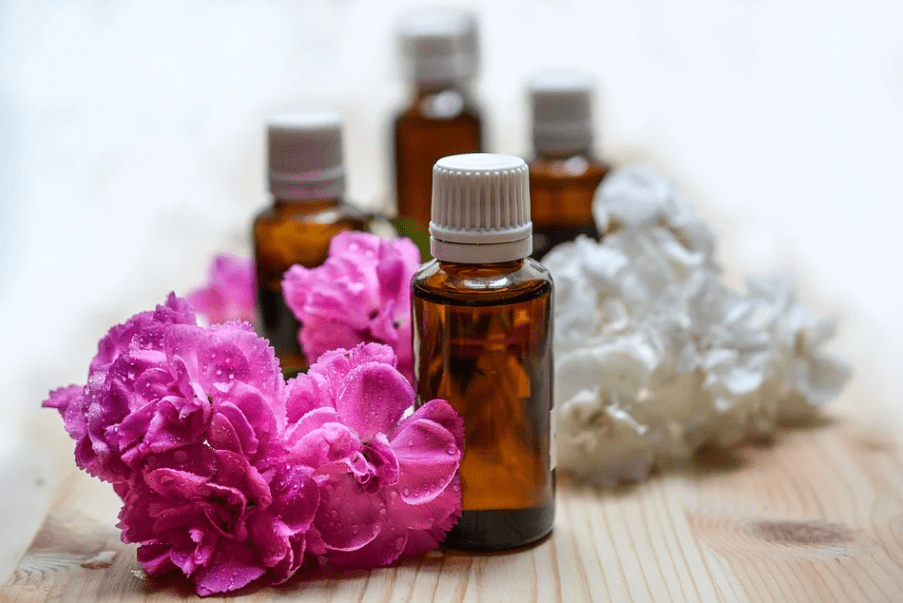
essential oils/scents (optional)
HOW TO DO IT
The good thing about crafting DIY playdoughs is that you can customize the output by tweaking and adding something to the essential ingredients. Homemade playdoughs are also proven to last longer than the ones you can buy from your local store. The following steps can serve as your guide on making playdoughs at home using only simple kitchen ingredients.
STEP 1. MIX THEM ALL IN
Put in a cup of flour and a half cup of salt in a bowl and gradually mix them with a half cup of water. Stir the mixture until you get just the right consistency.
Sometimes, the mixture becomes too dry, probably because of too much flour. If that happens, just add some more water to get to the preferred texture. When the substance becomes too sticky instead, add a little more flour.
STEP 2. KNEAD THE DOUGH
When you think you finally got a perfect consistency, it’s time to knead your playdough using your fingers to allow the substance to stretch and expand. In this stage, you can use the dough already.
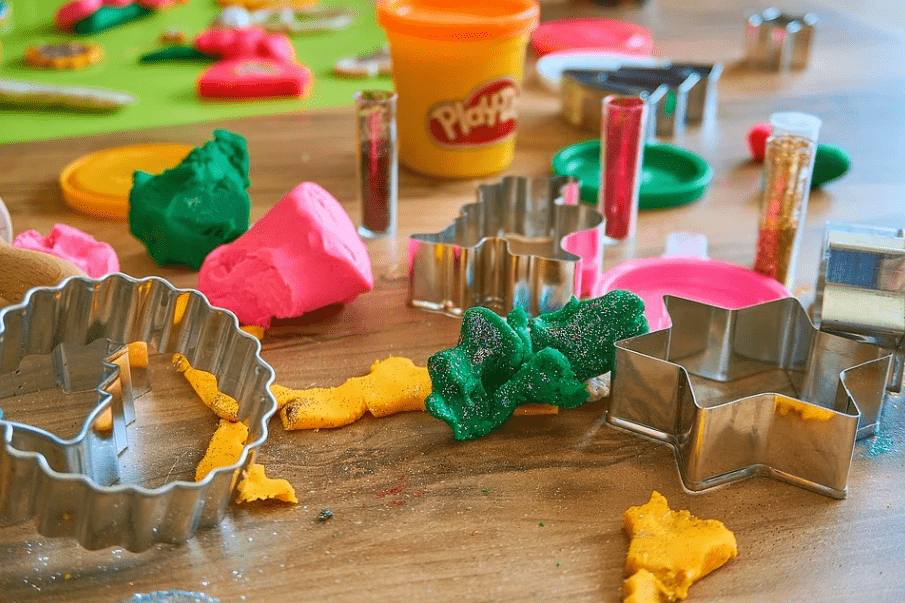
STEP 3. COLOR THE PLAYDOUGH
Playdoughs are way better with color variations. To accomplish this, divide the dough into several sections. Drop some good amount of food coloring or non-toxic, washable paint into each one of them. It will help if you press a small portion in the middle of each dough to allow it to hold the droplets of color. Knead the dough to let the color mix in totally. Before moving to the next color, wash your hands thoroughly to not mess with other colors.
Remember to make sure that the coloring substance you are using is non-toxic and safe. Avoid using random coloring materials for the playdough.
STEP 4. MAKE YOUR PLAYDOUGH A LITTLE EXTRA
If you want your kids’ playdough to be a little extra, you may opt to toss in some essential oils and scents such as lemon and other fruity aromas to make the substance more pleasing to the senses. The essential oil also gets rid of the weird smell that might arise from the mixture.
You can also add glitters to go with your playdough. However, make sure that the kids are old enough not to accidentally ingest the mixture or get the glitters in their eyes.
STEP 5. STORING THE PLAYDOUGH
When done playing, store the dough in a Ziploc bag and put it in the fridge to allow it to sit and be preserved for a maximum of four weeks. Please take note that the substance does expire and will lose its texture in due time. Before then, you can have fun modeling creatures with your kids. Moreover, you can make your creations permanent by baking the models you have created using the playdough.