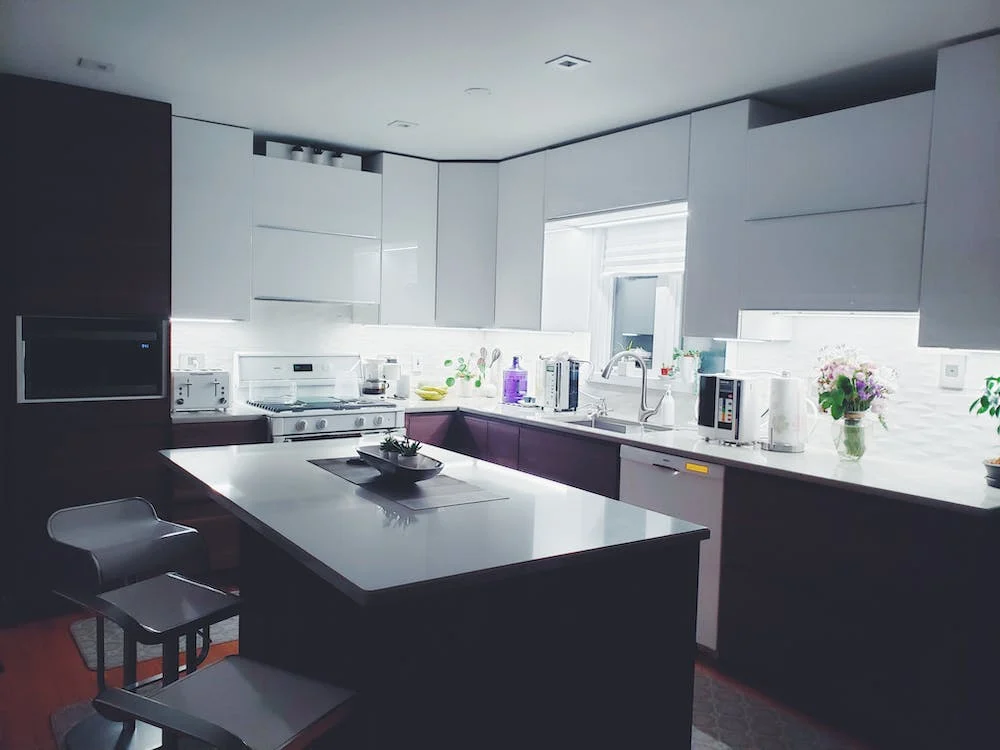
Almost all kitchens have cabinets for storage purposes. These cabinets are one of your major investments in setting up the kitchen. But, what will you do when those cabinets look old and have wears and tears? You do not like to replace your costly cabinets with new ones. Refinishing kitchen cabinetis a cost-effective option for you.
Kitchencabinet refinishing is an easy DIY project. With some basic tools and kits, you can accomplish the task. You need to go through some steps to refinish your kitchen cabinets.
Detach the doors by unscrewing the hinges
You may like to refinish only the cabinet doors. Thus, your first task is to detach them from the main body of the cabinet. Start emptying out the cabinet drawers. Remove these drawers as well. Then, detach the knobs using a screwdriver.
Make your kitchen cabinet doors free of dirt
Thoroughly scrub the kitchen cabinet doors using a degreasing cleaner. For instance, you can use trisodium phosphate for the doors. With a toothbrush and a scrub-sponge, you can remove the dirt from corners and grooves. You have to wipe away the dirt and grease until the surface is clean. It ensures that the new paint finish for refinishing kitchen cabinet will adhere to the surface. After removing the dirt, you can rinse the surface and leave it to become dry.
Fill in the cracks and holes
You need wood putty to fill cracks and hide dents of your kitchen cabinets. Leave the putty to make it dry.
Start sanding your cabinet drawers and doors
Use a 100-grit sandpaper and electric sander for your cabinet parts. It is the step for basic sanding. Moreover, you have to sand the grooves and corners using your sandpaper. In this step, you can choose 150-grit sandpaper to sand along the wood grains.
Remove the dust
Sanding can result in some dirt particles. Remove the dust and grime from thekitchen cabinets.It is better to use a vacuum cleaner to pick up the fine dust. Remove the dust thoroughly to refinish your cabinet in Canada.
Use the best wood stain for your cabinets
A brush with fine bristles is the right tool to stain the wooden surface of the cabinet. After 5 to 7 minutes, you can clean the surface with a piece of cloth. Let the stain be dry.
Varnish the cabinet parts
Within 24 hours, the stain will become dry and then you can start varnishing. When you have stained two sides of your cabinet doors, you have to wait for 8 hours. Then, you can turn over the doors and stain another side. Apply two coats of polyurethane to varnish the cabinet parts. Some professionals in Calgary use a sprayer to do it. Between two coats, you can do some light sanding for a better finish.
Get some more tips for refinishing your cabinet
- In some cases, homeowners choose an enclosed space, like a basement, to refinish the cabinet. They must ensure proper ventilation using a fan. It also helps in the dissipation offumes from the paint.
- It is safe to choose thin paint to refinish the cabinet. Multiple coats of thin paints are smoother than a single thick coat.
- Take a container to keep your cabinet hardware parts (like screws) organized.
- Apply numberings forevery cabinet drawer and door.
- Put yourgreasy stain rags into water. When they become dry, you can throw them away in your trash box. Do not put them into your trash. The accumulation of fumes will result in combustion.
These tips will help you in refinishing kitchen cabinet like a pro. Your cabinet will have a new look after successful refinishing.

