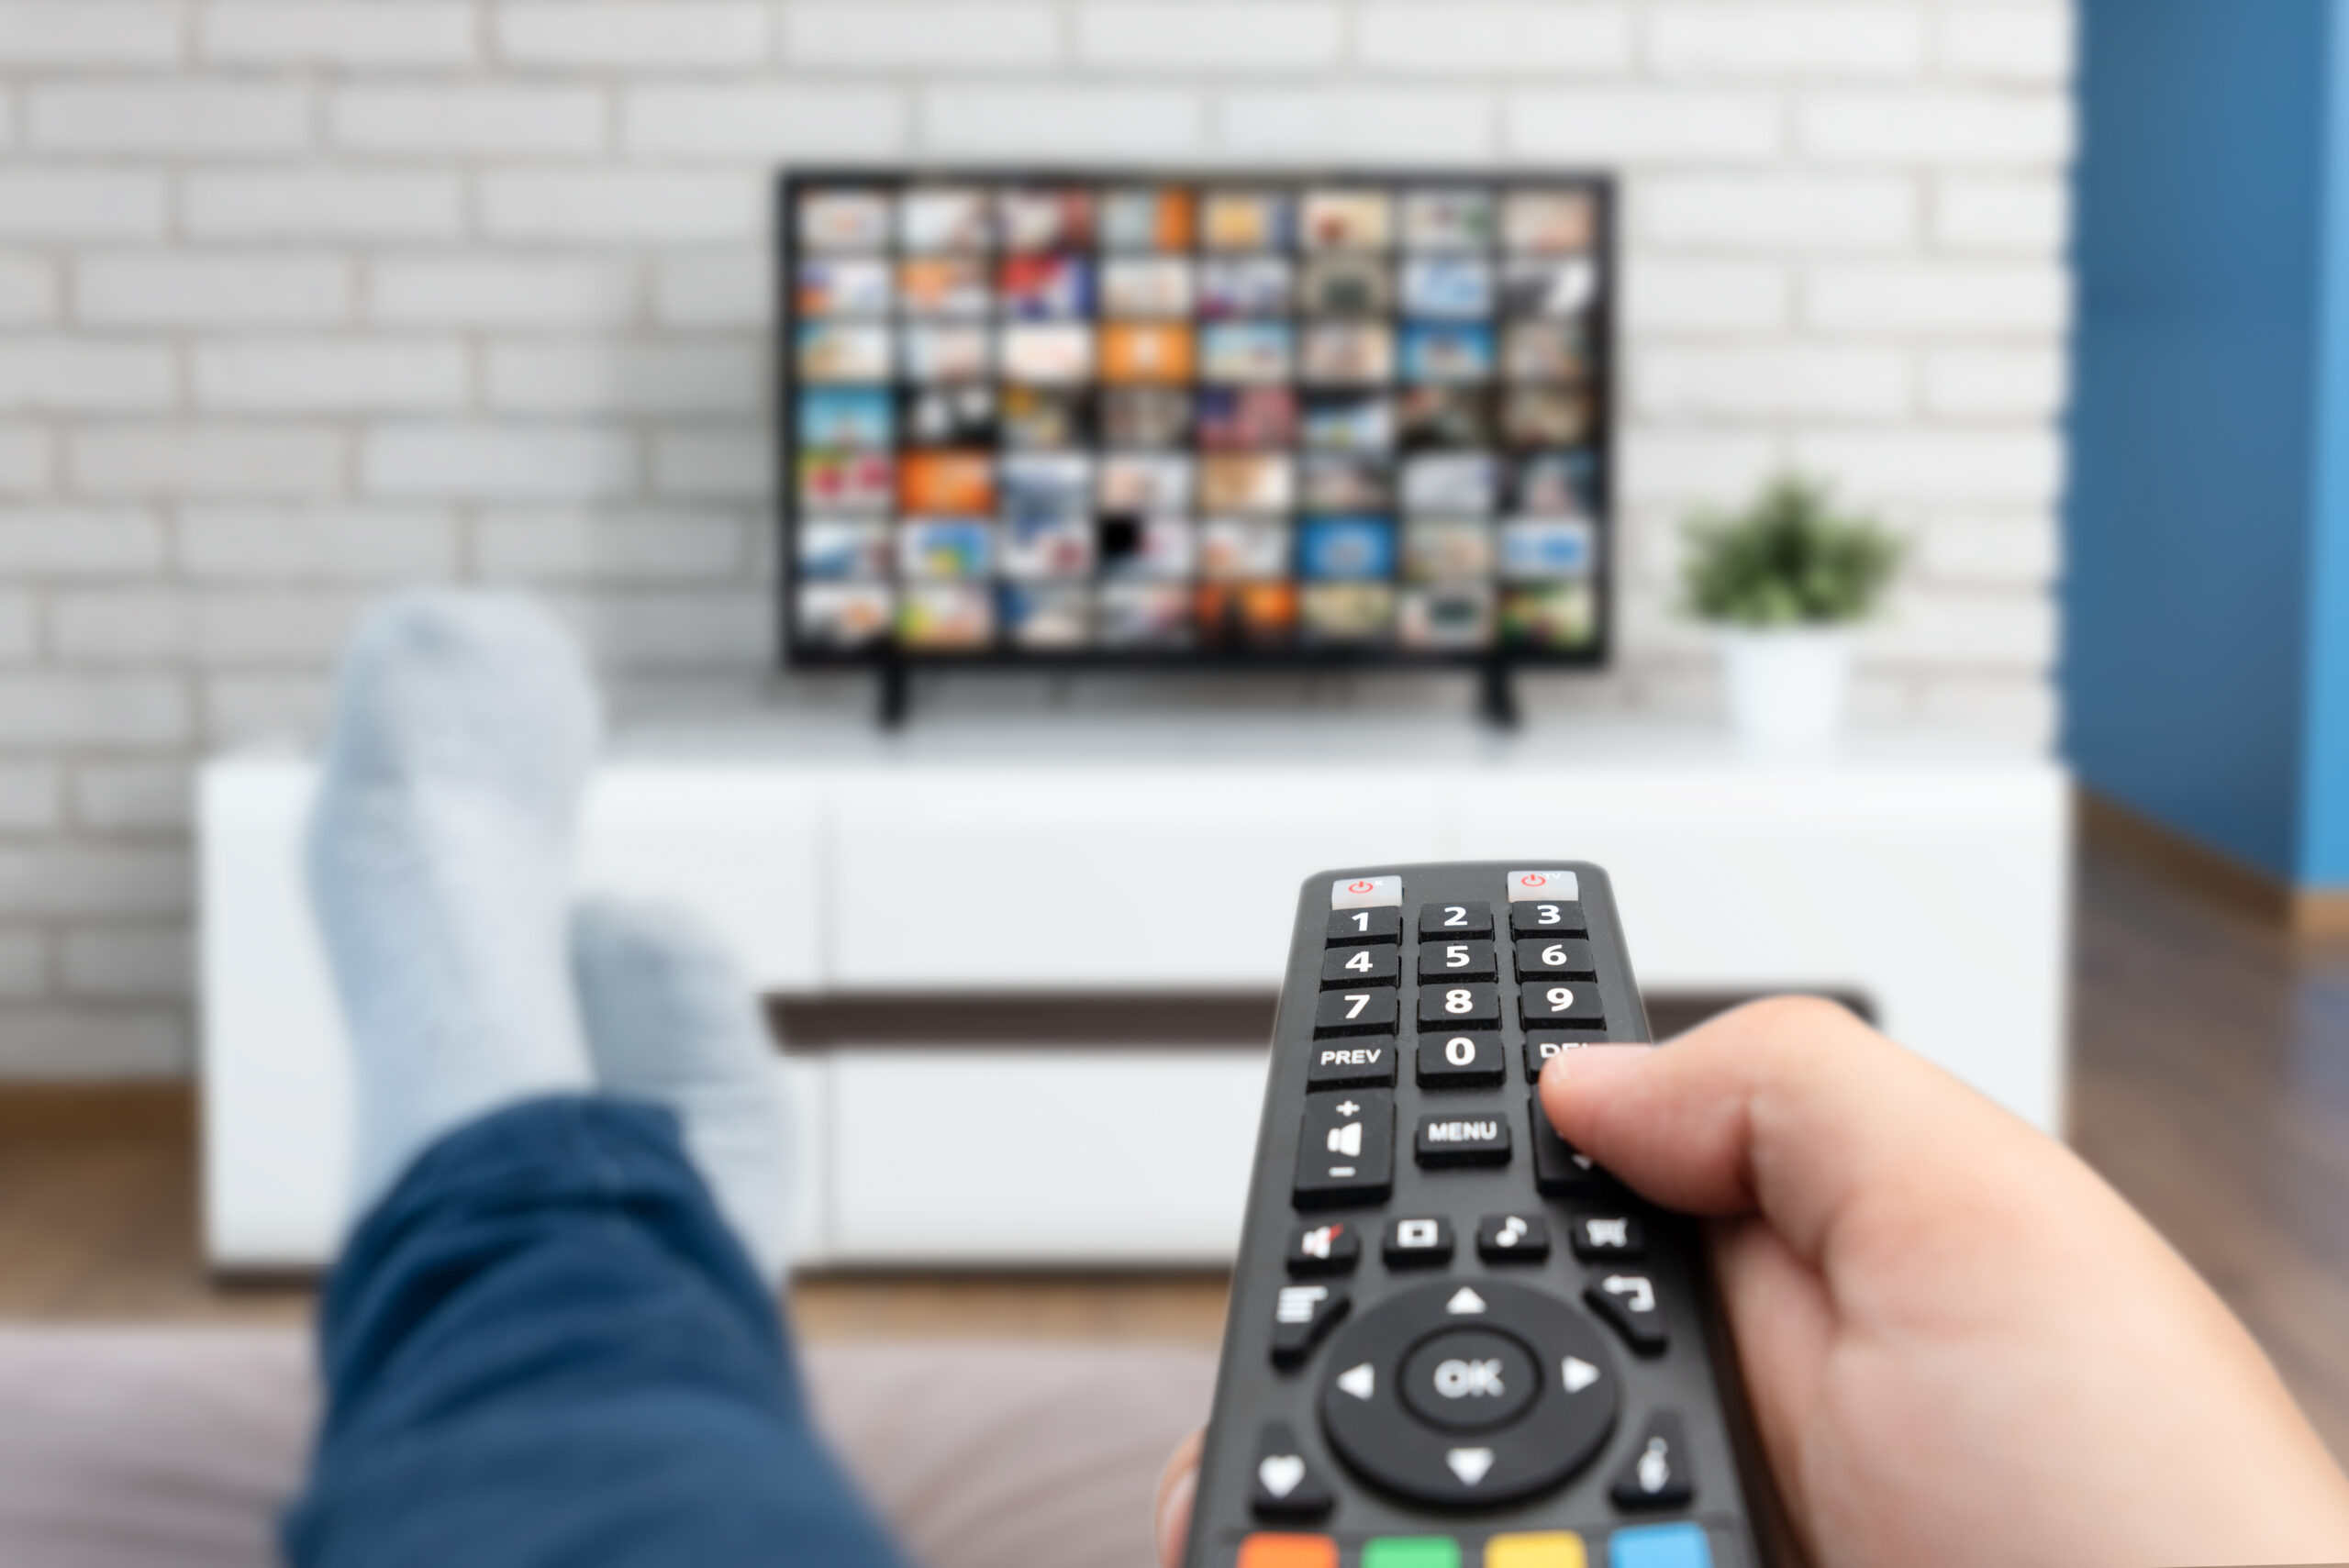
You might be shocked that a lot of people still watch TV at home, regardless if it’s for browsing different channels or using the TV for streaming your favorite movies and shows, it’s still very much a thing. And thanks to today’s technology, the quality of watching television was never better! You can easily improve your experience with easy tips and tricks, some you can even do yourself, even if you don’t know about televisions! So here’s how to improve your TV at home!
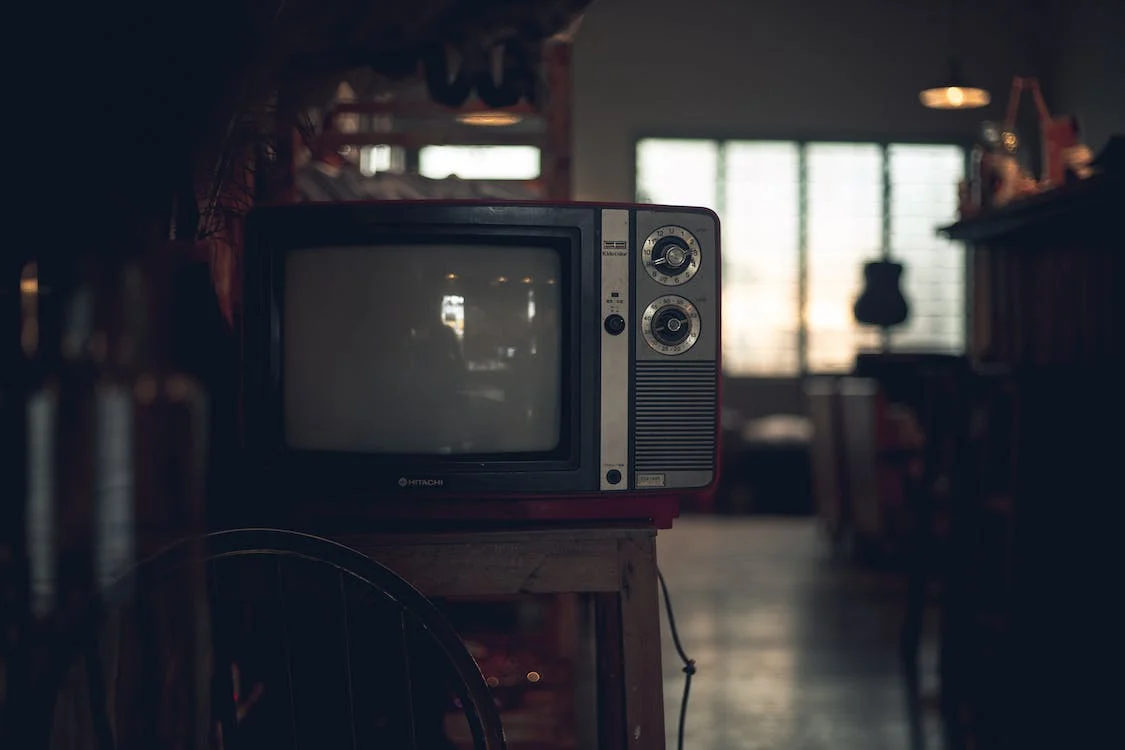
The Television and its history
The electronic transmission of moving images and sound from a source to a receiver is known as television (TV). The phrase can be used to describe both a television set and the transmission method for television. Television is a popular medium for news, sports, entertainment, and advertising.
In the late 1920s, television was made available in crude experimental forms, but it wasn’t until years later that the new technology was offered to customers. After World War II, an upgraded black-and-white television transmission format gained popularity in the UK and the US, and televisions started to appear in many homes, places of business, and educational institutions.
Television was the main medium for swaying public opinion in the 1950s. The majority of developed nations, including the United States, began using color broadcasting in the middle of the 1960s. The popularity of digital television transmissions significantly increased at the conclusion of the first decade of the 2000s.
Since the release of smart televisions in 2010, more television shows and movies have become accessible online through streaming video services like Netflix, Amazon Prime Video, iPlayer, and Hulu. 79% of households worldwide have a television in 2013.
TV antenna
If there is something that’s causing bad quality in your television, it’s the condition of your TV Athena! Experts at TV Aerials Stockport state that the antenna plays such a large part in your television watching experience, and it should be installed the right way in order to work properly! Also, you can choose between multiple different types of antennas to install, depending on your needs and wants. There are both indoor and outdoor ones, but it all comes down to what kind of area do you live in. Is it far away from the city or is it in the middle of it? This will greatly improve the quality. If you are for example living far away, your best bet would be installing an outdoor antenna that-s placed as high as possible on the roof or placed in the attic – this way it has a good reach and you can enjoy your television wherever you are! Just see what suits your home the best, and arrange the antenna accordingly for the best results!
Cables
Getting the best possible picture on your television should be the goal, as you want to make the best out of the watch time. Cables and satellite boxes are another major part of making your TV run smoothly and providing you with a good picture! So it’s safe to say that getting the cheapest offer wouldn’t be the best idea in the long run – you want to upgrade to the best offer your provider has! And on the other hand, if you only use online subscriptions and streaming services to watch your TV shows and movies, the best way to improve the quality is by getting a stronger internet connection. You aren’t changing much on your television directly, but rather fixing and amplifying the quality!
The sound
There is nothing major you can do to the sound of your TV, some are built with better speakers and some are simply not. Bur sound is such an important part of your watching experience, that you can’t help but want to improve it! If getting large speakers to add to your living room simply isn’t an option, try to opt for something smaller like a soundbar! This device is small but powerful, not to mention that it spreads the sound in all the right places instead of regular TV speakers, so you immediately hear a difference in sound.
The display
As with everything else, if the TV is old or on the cheaper side, there isn’t much you can do to fix its display, and on the other hand the new TVs are already coming with their own brightly colored screens, so what can you do to generally improve the display of any TV screen? Well, probably the easiest way you can do this is by simply going to settings and changing the brightness of the screen until it turns into a richer version of the color palette. This can only work if you dimmed the lights, but it’s totally worth it! It’s also important to note that it’s actually better for your eyes to lessen the brightness, or watch the TV with lights on, instead of a brightly lit screen in the dark – it might strain your eyes a bit! Also sometimes the screens are so bright, it washes the colors out completely, and by toning it down a bit you are letting the true colors shine out! This is totally objective, so you can reduce or brighten it however you’d like, so play around and don’t settle on the already made settings!
At the end of the day, there isn’t much you can change about your TV, especially if you bought a cheap one, to begin with – but there are some tricks you can use to enhance your watch time and make it more comfortable and smooth for you! You can always check out UWatchfree as a great option. It’s always best to call a professional if you are not sure how to fix or upgrade something, so just keep that in mind if you run into trouble!
Increasing Digital TV Signals: A Guide
- If you are utilizing an indoor antenna, move it to a new position or height. Even a few millimeters (inches) of movement can have an impact. It’s ideal to relocate it a little bit, wait a little while, and check if the reception becomes better before moving it more. Trust me, this really works as per my experience.
- If you’re using an outside antenna, adjust its direction. This might lessen or perhaps solve multipath issues. Keep in mind that outside antennas typically receive signals better than inside ones.
- Eliminate any barriers you can. Ensure that your antenna has a direct line of sight to the TV station transmitter.
- Replace any worn-out antenna connectors. Ensure that the TV and antenna connections are safe. Look for fraying and brittleness.
- If you have an outdoor antenna, the cables may become damaged from the weather. Cats and dogs can chew on indoor antenna. Check the antenna connection terminals for rust and, if possible, look for fractures or cuts throughout the full length of the cable.
- As you reposition or point the antenna, keep an eye on the signal strength meter on the television or digital-to-analog converter box. Aim for the highest reading you can.
- To strengthen the signal, connect a signal booster or amplifier between the antenna and the receiver. Low-sensitivity TV tuners and DTV converter boxes benefit from this as well. Attach the amplifier’s output to the TV’s antenna input after connecting the cable from the antenna to the amplifier’s input. The amplifier must also be connected to power.
- Enter the TV or DTV converter box configuration menu after checking the antenna positioning and connections, then launch a fresh channel scan. It’s possible to add previously unavailable channels. You should be able to view a station if it registers.
- A rotor may be helpful if you have an outdoor antenna and receive TV signals from several directions. Nevertheless, the cost of this approach is high, with complete kits costing anywhere from $100 to $200 or more.
- Ideally, if you have multiple TVs, you should have a different antenna for each one. Signal strength is reduced when the signal is split, particularly if there is a long cable run between the signal splitter and one or more TVs.
- Use an attenuator to weaken the signal if you are too close to the TV transmitter and it is overloaded your tuner or DTV converter box. An attenuator with a continuous adjustment is ideal because it enables you to customize the attenuation required for various channels.
Easy fixes for your tv’s visual quality
- Choose the appropriate mode- In a store atmosphere, TVs are set to their brightest and finest settings. It looks fantastic because to the strong lighting and brilliant display material but not really at home. These options can be found under the headings vivid, sports, dynamic, and bright. Most visuals and colors are blown out. Instead, try using a movie or theater settings. This will make your image more similar to what the original filmmakers meant for you to see, plus it plain looks better in low-key, natural lighting.
- Adjust with your eyes- Sometimes the default settings are inadequate. It’s worthwhile to take the time to adjust your TV’s settings to your particular preferences. Contrast, hue, brightness, sharpness, and color temperature are among the settings that can be changed.
- Learn when to blur or smooth- Depending on the manufacturer of your TV, you may find this setting under a different name, but the function is the same. By artificially adding frames, motion smoothing makes an attempt to smoothen moving visuals. 24 or 30 frames per second are used for most movie broadcasts. Your television, which can have a refresh rate of 60, 120, or even 240 hertz, will add frames when motion smoothing is turned on to bring the image up to par. As a result, the movie can seem too authentic. High-end productions could resemble hurriedly created YouTube videos as a result.
- Balance the sharpness- Although you may expect that increasing sharpness would make your picture sharper, this is not how most current TVs operate. Instead, edge enhancement is controlled by sharpness. Using an outline or halo, this draws attention to the margins of images. Images may appear crisper with this setting, but detail is also lost. The picture appears less natural since the edge augmentation obscures details. Sharpness is by default reduced if you’re using one of your television’s pre-set cinema or movie modes. You can adjust this option on your own by reducing the sharpness until no edges are visible.
- Reduce the noise- Film grain, artifacts, and pixelation are all examples of noise. This was more of a problem with standard or lower resolution programs on earlier television sets. While noise reduction might improve picture clarity, it also washes away details, giving the impression that everything on the screen is mushy and artificial. Disable noise reduction if you’re watching high-definition or 4K material. If you leave it on, you can miss out on subtler textures and nuances.