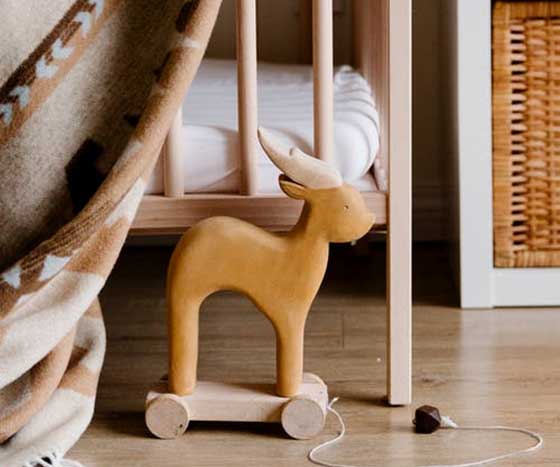
Are some of your wood pieces showing signs of damage? Maybe your favorite rocking chair is getting too squeaky, or your children’s toys are starting to lose their shine.
You might be tempted to settle for old wood, but it’s possible to restore precious antiques that matter to your family. These projects can be fun to approach by yourself, even if you’ve never done woodworking before.
Check out these four hacks for DIY woodworking if you decide to spruce up your antiques.
1. Sand With The Best Equipment
If wood is the top layer of wood is dirty, tough, or dull, you may want to sand it. This is when you would need to sand down the surface to smooth it out and reapply a stain or paint finish.
Most people think sanding is a tough process that requires a lot of force, but that isn’t true. If using a traditional sanding block might be too much for you physically, or if you want to upgrade to the best equipment, check out the best random orbital sanders currently available.
Once you read this review, you’ll see that an electric sander takes over the hard work for you. You’ll still have to wear safety goggles to protect yourself from wood shavings.
2. Use Hot Glue To Hold Small Stuff In Place
When doing detailed work or finishing a small piece of wood, it can be unwieldy, difficult, and ultimately dangerous for you to try and hold it in place with one hand while working with the other. If you’ve never had to, it’s like trying to cut vegetables with a lightsaber: dangerous and not very productive.
To do better work and prevent potential injury, try using a dab of hot glue to affix the small piece of wood to a larger scrap piece that you can easily wield. Now, you can move around the piece you’re working on without worrying about hurting yourself! Once you’ve finished, it should just take a little force to remove the small piece from the larger scrap wood.
Don’t rush through it, or else you risk causing damage to the small piece you’ve been working on. If you’re not careful, you could even break it entirely! Once it’s safely removed, use a putty knife or similar tool to pop the hot glue off the wood.
3. Don’t Use Drywall Screws On Wood
When drilling two pieces of wood together, take care that you’re not using drywall screws by mistake. Wood screws and drywall screws are very similar with one key difference: drywall screws are threaded all the way up, whereas wood screws are smooth toward the top of the screw. This is because the threads you see on screws are designed to grip the first board it enters.
If you use a drywall screw to affix two pieces of wood together, you run the risk of slightly separating the two pieces of wood.
4. Know What You’re Working With
One last tip is to know what kind of wood you have in front of you. It’s more than just the color of the wood: different types of wood also have varying levels of softness and water resistance, which can impact the final results.
Bottom Line
Several factors can literally make or break your woodworking project. The type of wood you’re using and how you use it all impact whether you successfully restore your pieces.
If you’ve done your research and know your way around the proper tools, then you’ll be more likely to get good results. All you need is a good sander, hot glue, and knowledge about the best wood.