Many people use stylishly designed bathroom wall tiles to give their bathroom a slightly different from the traditional look. Walls tiles not only give your bathroom a unique look but also create a protective layer on the walls of your bathroom. Which protects against mold growth and moisture damage, as well as tiles walls are much easier than regular walls
If you are also thinking of installing tiles on your bathroom walls, you can easily complete them in a few hours. You don’t have to look anywhere else for its easy guide. Because we have explained the easy way in this guide in a complete way how to install tiles on bathroom walls step by step easy process, so let’s start our guide without wasting time.
How to Install Tiles on Bathroom Walls
Before starting the shower wall tile installing process, you need to collect so many tools and materials. Below we are listed.
Materials
- Cement Tiles
- Thinset
- Trim Tile
- Tile Spacers
- Plastic Corner Trims
- Grout Haze Remover
- Grout, Grout Sealant, Silicone Sealant
Tools
- Safety Glasses and Gloves
- Framing Square, Measuring Tape, Pencil
- Tile Cutter
- Tile Nippers
- Rubber Grout Float
- Notched Trowel, Margin Trowel
- Bucket, Mallet, Spirit Level
Step 1: Choose Your Shower Wall Tiles
Determine the measurements of your complete shower wall is one of the most important tasks while you’re choosing a tile. Then fix the tiles and their size based on those measurements. For easy understanding, we have given an example: if your bathroom wall is 10 feet × 10 feet, it means 100 square feet. Now you can buy a complete tile set based on these square feet.
However, we would highly recommend you to purchase 10 to 15% extra. Because the tile installing process is very sensitive, so there are chances of damage. If accidentally damaged, then you can use those extra tiles immediately.
Step 2: Prepared Your Bathroom Walls Tile Pattern
If your bathroom walls are made of plaster, drywall, cement backer board, or cement block, then our chosen cement wall tiles are the perfect option for you. But before that, clean and dry the wall so that the tiles can be attached smoothly during installing.
Also, make a pattern of how to install the bathroom tile according to the complete size of the entire walls. You can measure a tile horizontally and vertically and make sure that the ensuing tiles are cut at the end of the installation. If you need to cut, consider cutting the small part of the tiles towards the bottom or the top.
Step 3: Properly Mix and Apply the Mortar
The tile installing process is a very dusty job, so you must wear safety glasses and gloves to protect yourself before starting work.
You can see different types of mortar in the market because mortar adhesives depend on the different types of walls. So in the field of purchase, you must buy a thinset mortar that is suitable for your wall.
Must follow the manufacturer’s instructions when you are mixing the thinset mortar. Because various thinset mortar mixture formula is different, then spread it on your working area with some of the creamy mixture mortar, without spreading too much at once; keep moving thinly. Use the notched side of the trowel to texture the thinset.
If you are very confused about the size of the trowel to use, then use the trowel recommended by tile manufacturers.
Step 4: Cut and Install the Tile
Then install the tiles one by one; if there is a large blank part at the end, then take the proper size of that part, and cut a part of the tiles accordingly, and fill it. In the field of cutting tiles, you must use a great quality tile cutter for cutting the tile smoothly; press it firmly to cut the tiles accurately.
Use spacers during each tile installation to ensure each gap’s the same size in the middle of the tiles. Then install all the tiles on the wall properly and leave them to dry for 24 hours.
Note: Every time you insert the tiles, make sure that the tiles are at the level and the thinset mortar has gripped the tiles properly, or make sure to pull it lightly.
Step 5: Apply The Grout
After completely drying the thinset, then remove all the spacers from the tiles, and prepare the wall for grout. Use unsanded grout to avoid scratching your tiles, and you can also use the grout recommended by tiles manufacturers to get more precise results.
When applying grout, you must take a small amount of grout, then mix it properly and apply it in the spaces of the tiles using a rubber grout float.
Step 6: Clean The Tile
During grout application, use a wet sponge every 10 minutes to clean the excess grout on the tiles. After applying grout in the space of all the tiles, leave it to dry. To know the exact time to dry the grout properly, see the user manual of the grout.
After properly wet the grout, use a grout haze remover to clean all the tiles. It will help to clean all the tiles in your bathroom properly.
Step 7: Seal the Tiles
This is the final step of our how to install shower wall tile guide. After properly grouting the tile’s space, let it dry properly for a while. Then use grout sealant on the grout to avoid any leakage issues in the future. Then use silicon sealant on the edges, joints, and corners. Then leave it to dry naturally until the time instructed by the manufacturers.
Different Types of Tiles for Bathroom Walls
1. Porcelain Tiles
If you want your bathroom tiles to last for a long time, porcelain is the ideal material to choose. Since porcelain is more durable than either stone or wood and is available in a wide range of hues, it may be used to create spectacular effects. Additionally, it is sturdy, water-resistant, and challenging to scratch or discolor. Although porcelain is pricey, it is a great investment because of how long it lasts. For your own preference, you can choose between matt and high-gloss finishes.
2. Ceramic Tiles
Ceramic tiles are made of the same components as porcelain, but with less finely ground material. Ceramic has the advantage of being usable on both floors and walls, allowing for a seamless appearance. Ceramic tiles are also low-cost and easy to maintain, and you can achieve a luxurious look for fewer thanks to the broad selection of colors and styles available. However, ceramic is still one of the most resilient materials for tiling when properly sealed.
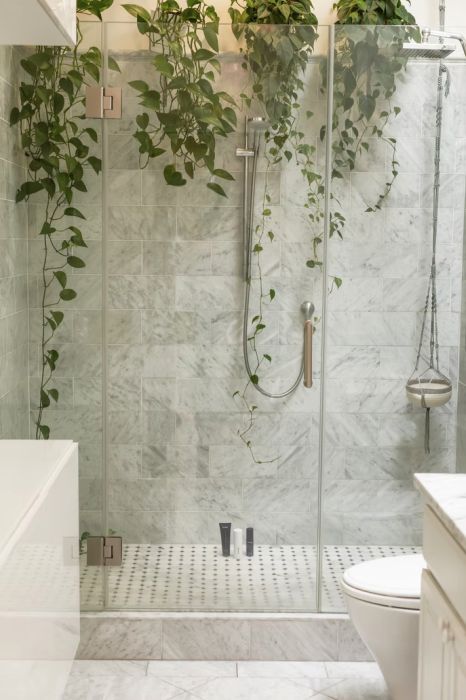
3. Marble Tiles
The ultimate tiling material in terms of luxury is a marble. Because of the subtle color veins that run across its surface, this classic stone is wonderful for adding texture to your bathroom design and for creating focal points. Both conventional and contemporary decorating styles work well with it. It is unmatched in terms of timeless style, despite being an expensive option and requiring considerable maintenance.
4. Mosaic Tiles
Bathrooms are currently quite popular places to use mosaic tiles. They can be made from a variety of tile materials, including glass, marble, and ceramic. Whether you pick mosaic tiles for the bathroom floor, to emphasize a particular wall, or to create a distinctive design throughout the entire room, they are the perfect way to bring your individual flair to the space. The tiny tiles can be put together in a variety of ways to produce eye-catching effects and patterns.
5. Limestone Tiles
Limestone is the ideal material to utilize for color schemes with natural tones. Limestone tiles need to be sealed exceedingly well to be used in bathrooms because it is a porous material in their natural condition. Its delicate tones of beige, brown, and grey offer warmth to your bathroom and feel soft and pleasant while yet being durable. But it is worthwhile because you may construct a lovely warm bathroom with this appealing and adaptable material.
6. Slate Tiles
If your bathroom sees a lot of traffic and you want a tough finish, slate tiles are a no-brainer. It is nearly impossible to damage or chip slate because it is one of the most durable tiling materials. It may be utilized to produce beautiful original effects in bathrooms of all shapes and sizes because it comes in a broad variety of colors, textures, and appearances. Copper, blue, green, grey, and black is common hues. Like all-natural stones, slate has a tendency to be expensive, but it is a wise investment because it makes for an attractive tile and will last for many years.
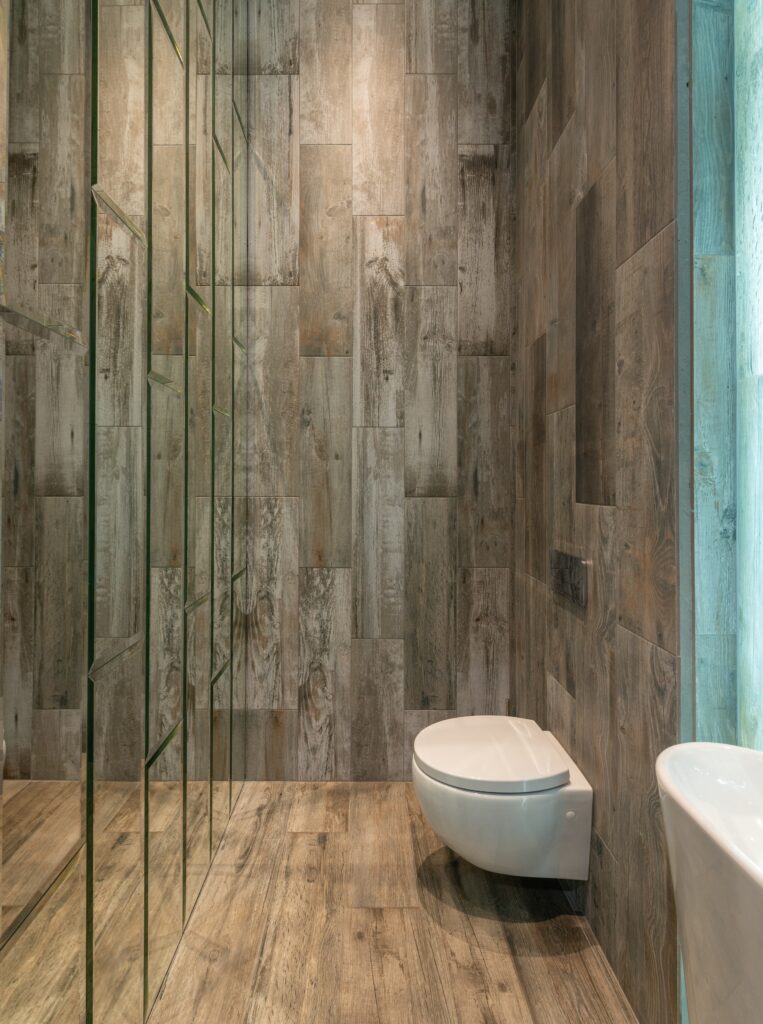
7. Vinyl Tiles
Another material for bathroom tiles is vinyl. It can resist a lot of wear and tear and needs little care, which makes it highly useful. Vinyl can successfully simulate the appearance of wood or stone, and there are endless colors and designs to fit every taste. If you are on a tight budget, vinyl lets you get a lot more done for less money. Vinyl tiles can now look lovely in your bathroom thanks to recent improvements in their appearance.
8. Pebble Tiles
Those who want to create natural effects in their bathrooms are incredibly popular with pebble tiles, also known as river rock tiles. They are great for a beach or holiday theme and provide interest and texture to your design. Pebble tiles come in sheets of pebbles which are kept together by grout. With routine upkeep and cleaning, their distinctive and incredibly lovely appearance can be maintained for many years.
9. Terracotta Tiles
Terracotta tiles are the best method to obtain the vibrant Mediterranean style you desire for your bathroom. They offer warm orange and crimson hues that give your bathroom a dramatic, exotic feel. Terracotta is a sort of ceramic that needs to be properly sealed in order to be used in bathrooms since it absorbs water in its natural condition. They also provide a warm, cozy, and welcoming feeling. This is worthwhile since it is a flexible option that adds joy and sunlight to any bathroom.
10. Glass Tiles
Glass tiles reflect light around your bathroom exceptionally well, giving the impression that it is bright and spacious. As it is naturally water-resistant, low-maintenance, and stain-resistant, glass is also a very useful material for bathroom tiles. Glass is one of the easiest tiling materials to customize, making it easy to stamp your own personality onto your bathroom.
Final Verdict
If you do not have any basic knowledge about tiles installation, then it is difficult for you to install the tiles. But we have tried to present all the steps in this how to install tiles on bathroom walls guide very simply for easily understand each step. Hopefully, it has helped you a lot to understand everything.
If you are still confused about the amount of measurements and mixing formula of all things, then we would recommend before applying everything must see the manufacturer’s instruction of each product properly.