Printing projects can be intimidating, but they don’t have to be! With the right tools and equipment, anyone can complete a small printing project at home. Whether you’re designing your own business cards, printing holiday invitations for family, or making personalized thank you cards, the equipment listed here is crucial for all you need to get started.
Here are some of the most important pieces of equipment necessary for any small printing project. And check out the link to find safe card making materials online.
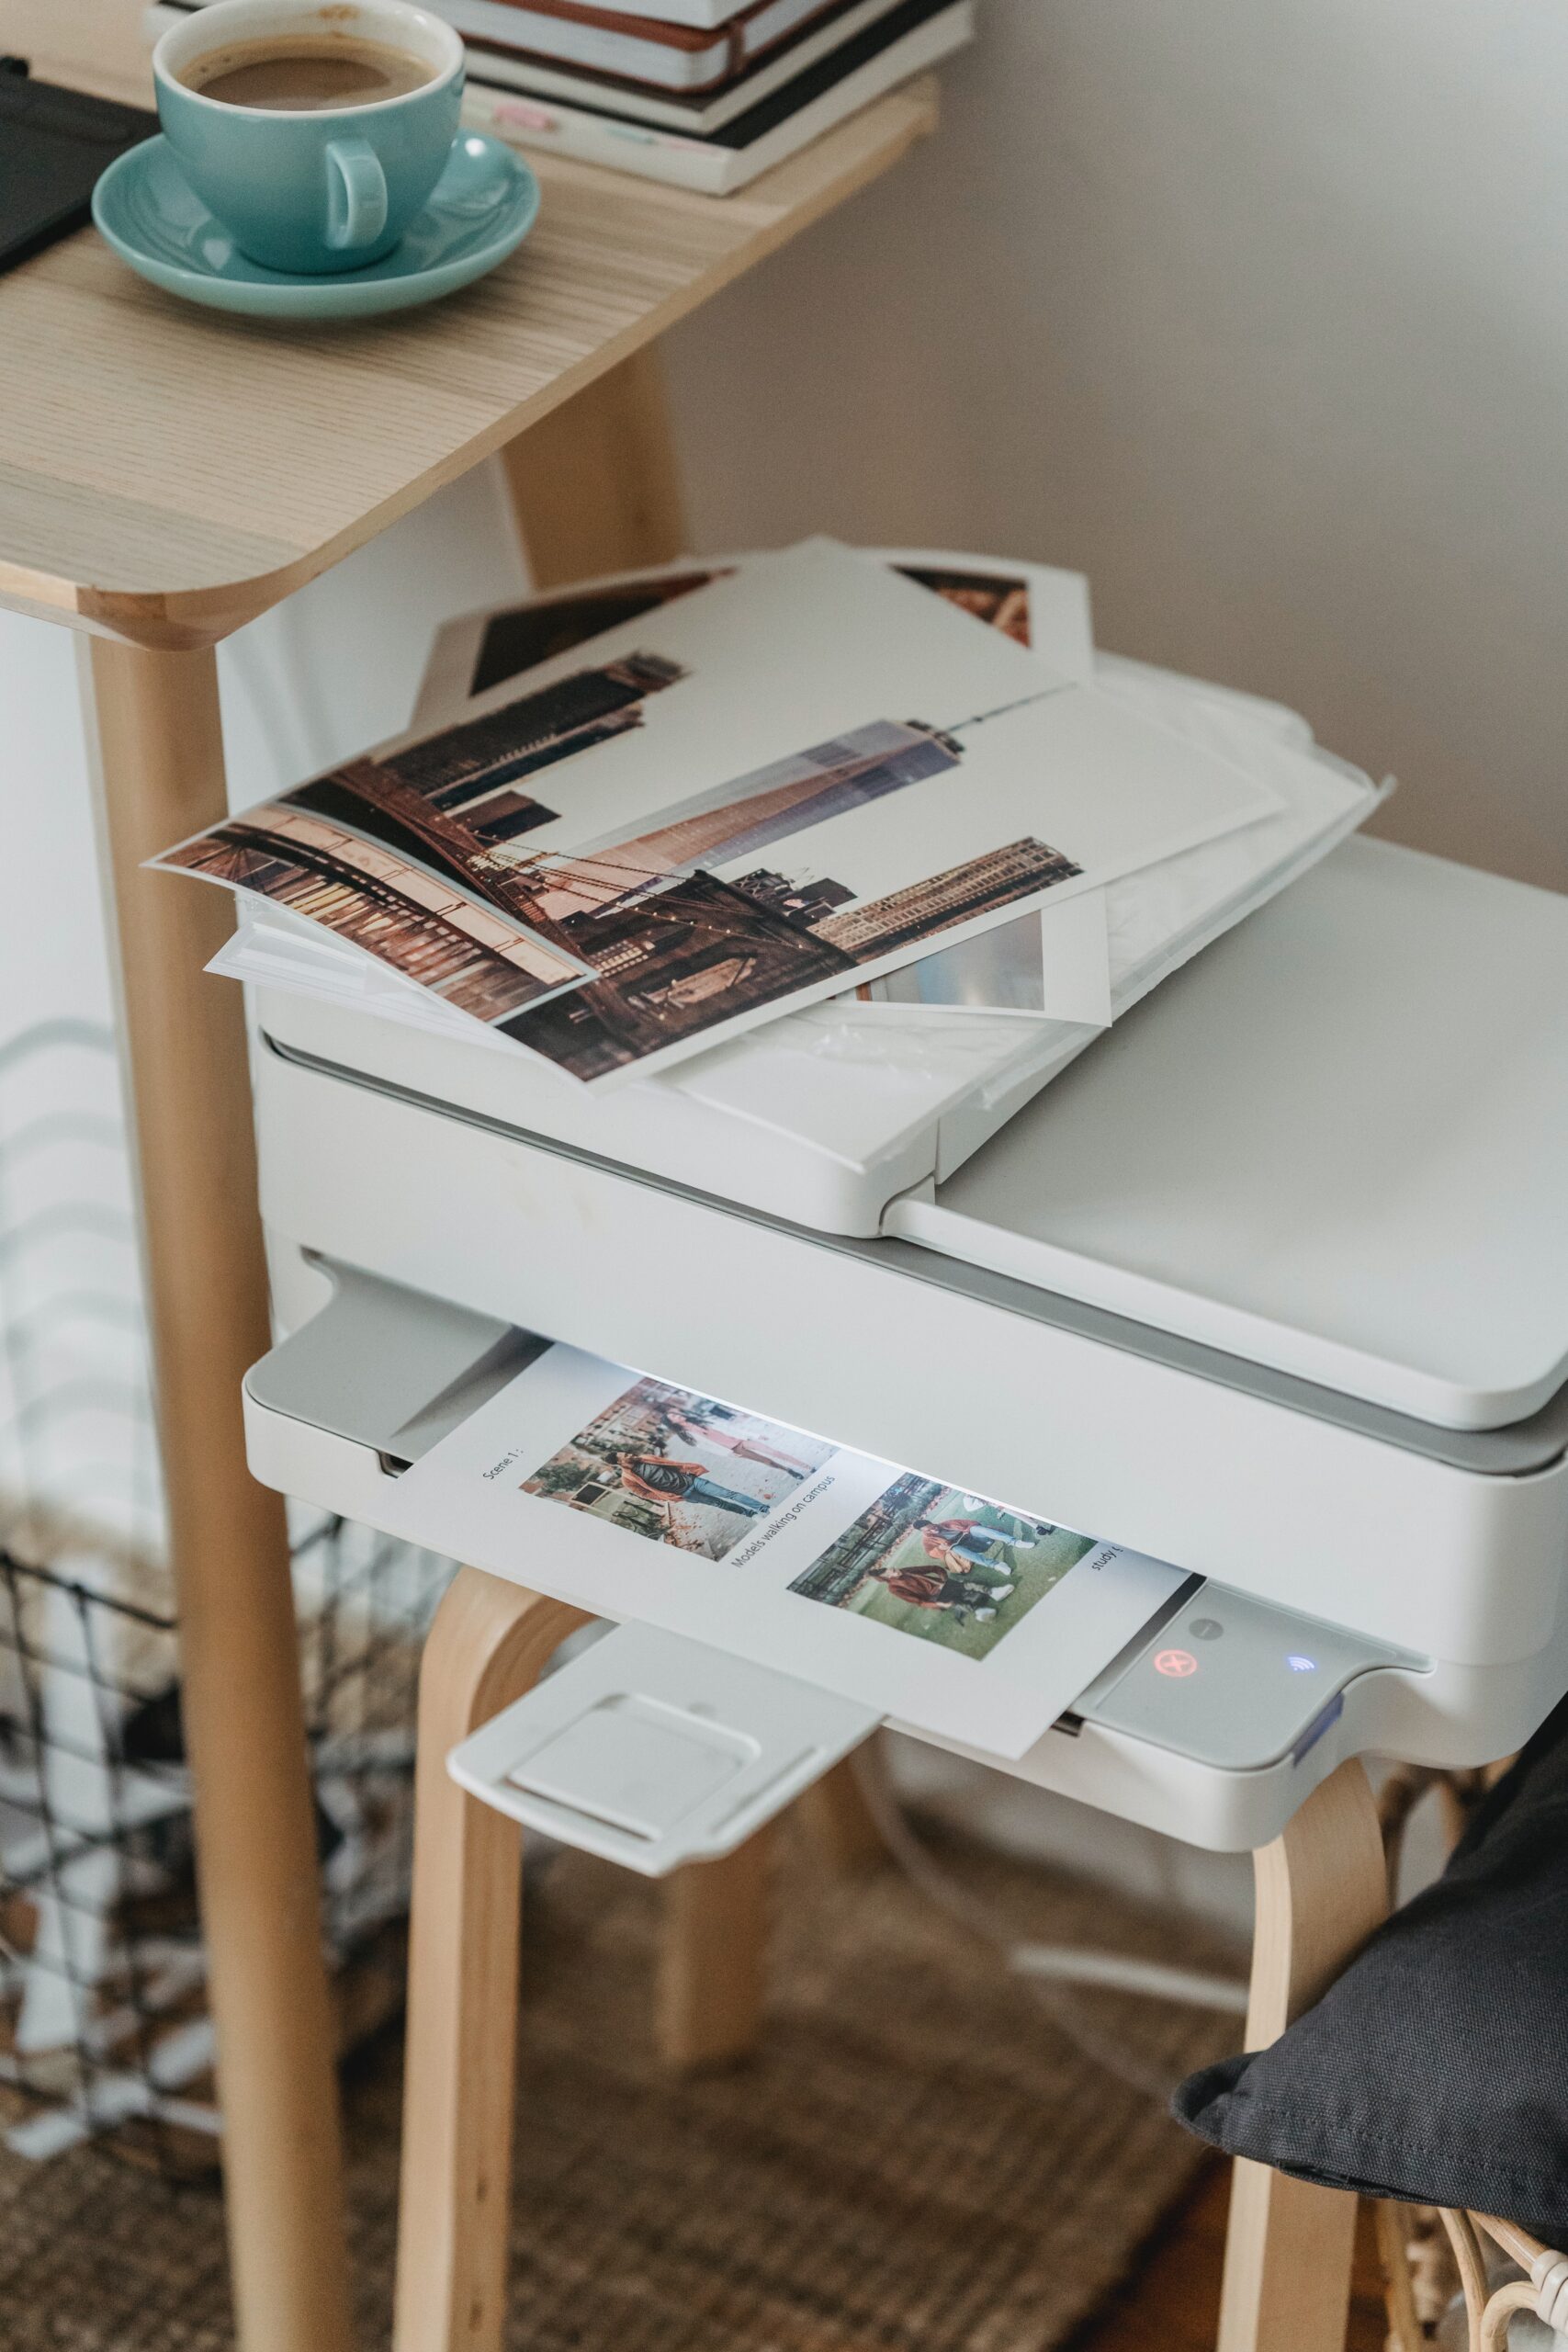
1. Printer
First and foremost, every small printing project requires a printer—and not just any printer. A digital printer is essential to modern printing projects, as it allows for high-quality prints with no need to use film. Not only do digital printers allow you to print at home instead of using a photo lab (saving time and money), but they also make it easy to preview your images before blow-drying, censoring, or cropping them!
Printers come in all shapes and sizes, which can be very confusing when trying to find the right one for you; some printing even requires CTM labeling systems. However, they almost have the same basic functions. In order to complete a successful small printing project, it is important that a printer has these five features:
- The ability to produce high-quality prints quickly, saving you valuable time.
- The ability to produce high-quality prints with little effort on your part.
- The ability to produce multiple images at once, cutting down on labor costs.
- A wide range of compatible inks so you can print for months before needing new supplies (no need to order expensive printer ink online). Check out the best place to sell unused ink cartridges.
- A wide variety of templates and designs, allowing you the freedom of customizing anything (and everything) without worry about compatibility issues.
2. Paper Cutter
You’re halfway there! Next up is the paper cutter—a small printing project wouldn’t be complete without one. Paper cutters are designed specifically for straighter cuts with greater accuracy, saving you from having to deal with the hassle of chopping paper by hand. It is also wise to get a heat press table along with it. It is important that your paper cutter can handle a variety of mediums, including cardstock and heavyweights. When considering which size paper cutter to purchase, keep in mind that bigger is better. A large cutting area allows for even more creativity, as well as easier trimming of thicker material.
3. Scoring Tool
Scoring tools make it easy to create beautiful folding lines on invitations or greeting cards without having to manually score them yourself (which would be time-consuming and inaccurate) or use a regular paper trimmer (which would be too small). Many scoring tools have interchangeable blades so you can ensure clean cutting every time. Remember to consider how big you want your scores to be; some scoring tools vary by the depth of cut, but all of them will have a capacity (the distance paper can be moved into the blade before it cuts).
4. Paper Trimmer & Craft Knife Set
A paper trimmer is similar to a paper cutter, except that instead of a long straight edge, a paper trimmer has a rotary blade for making angled cuts. This makes it perfect for cutting in tight spaces—perfect for invitations! When buying a paper trimmer, make sure that it is compatible with many types of material and that you’re able to adjust the angle depending on what material you’re using.
Craft knives are essential when it comes to small printing projects. For films, they make it possible to remove unwanted images or text in order to censor or correct mistakes. They can also be used to remove films from the boards prior to die-cutting. Craft knives with snap-off blades are best for jobs that require more precision, while craft knives with fixed blades are better suited for larger projects or multiple prints.
5. Die Cutter
As previously mentioned, dies have the ability to cut out images and texts on films—which is great news when you want to embellish printed material without worrying about extra materials getting in the way! A simple shape like a star can add an extra sparkle of detail that would otherwise be too intricate for paper cutters. Die-cut machines can be custom programmed with any image, making them a great investment for small printing projects and seasonal decorations alike!
6. Cutting Mats
Last but not least we have cutting mats, which provide the same clean and accurate cuts as paper cutters while also protecting your work surface from harm. It’s always a good idea to invest in quality cutting mats so you don’t damage your table or desk while working on your next small printing project. Whether you’re working with a straight blade, rotary blade, or craft knife, a cutting mat allows for precise and worry-free cutting.
Digital Printing Tips
Working on printing projects is exhausting as you need to ensure that your project prints out exactly how you envisioned it. Having all your equipment can be helpful, but you also need to know how to use it to complete your project efficiently. Here are some tips to help you in your task.
Don’t hesitate to learn more by checking out cheap booklet printing.
Plan for Color Discrepancies
When printing, the ink or toner you use may look different on paper than on the screen. This can be due to the ink, quality, and printer format. When printing out your project, plan for some color discrepancies that will most likely occur so that the color your printer prints still looks good with each other. You can do so by sticking to either a warm or cool tone for all the colors you use and only use colors that complement each other. In such scenarios using a color wheel is extremely useful.
Avoid Large Blocks of Color
When designing a project to be printed, ensure you do not have large blocks of colors. You may see noticeable blending and banding issues in such areas, causing the print to look patchy. To avoid this, use elements that do not use heavy ink coverage and try to split it up into a design with multiple colors.
Include a 1/8-Inch Bleed
If you plan on digital printing, allow a ⅛-inch bleed to ensure that your design remains intact and no part of it is cut off during printing. Since digital printing does not allow edge-to-edge printing, leaving a ⅛-inch bleed will keep your print usable.
Think of the End Product at the Beginning
Knowing what you want your end product to look like can be valuable in the design process. For example, if you know what you want the end result to look like, you can choose the ink, paper, and ink accordingly. Additionally, if you know you want to fold the paper later on, you can leave space when designing it. If you do not, the area printed using a toner will likely crack and look messy.
Use Images of at Least 300 DPI Resolution
When printing a project, including images, you should print at 300 DPI resolution to ensure the images look high quality. Instead of using .jpeg, it is best to use .tiff or .psd to give you the best quality images.
Conclusion
You’re now ready to take on your first small printing project! With the right equipment and supplies, anything is possible—so don’t be afraid to get creative.